Guides
IP and domains
How to configure domain on Cloudflare
Make sure to have purchased a domain with your registrar.
1. A Record
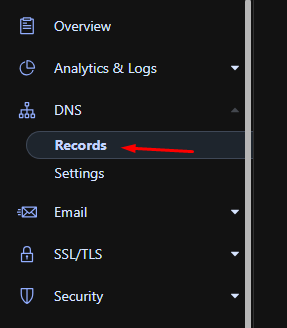
When on Cloudflare, on the left you got a sidebar, click on DNS and then go to "Records"
Then create your A record
In the "type" box select "A"
In the "Name" slot you can put numbers, letters or "@"
You may be wondering what is the name slot, we can say it's your domain prefix.
Example: I own Example.net, if I set "name" to play I have to put play.example.net to join my minecraft server
Else, if I put @ in there, I can join with example.net
In "IPv4" slot you will put your server's numerical ip
You may be wondering "how do I find it, it's showing a subdomain" to which I will answer with: there is this tutorial

2. SRV Record
You may want to set this up if your port is not 25565
Create a second record
Make sure the "Type" is SRV and not A
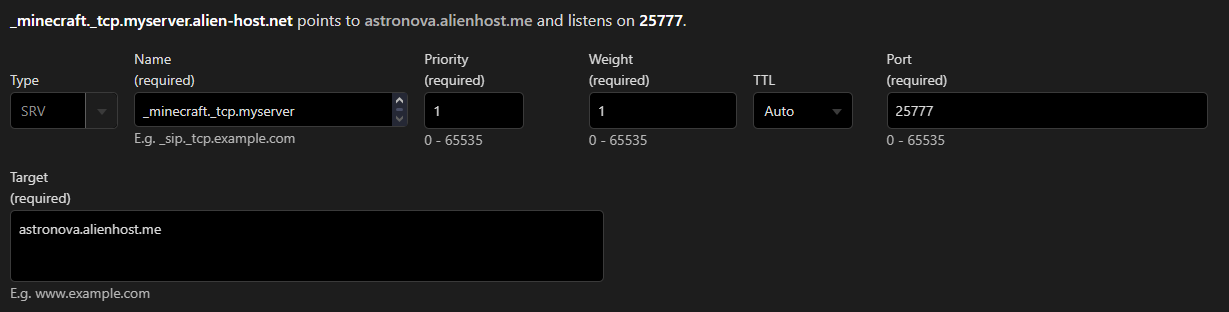
In the "name" slot you use the following line: _minecraft._tcp.
followed by your subdomain or domain if you are going to use one (in the picture below, the subdomain is myserver)
"TTL" should be "Auto"
"Priority" should be a low number e.g. 0 or 1
"Weight" should be below 5
"Port" is your server port, which can be found in the console
"Target" has to be set to your domain/alias shown in the panel (view picture below for an example)
How to get numeric IPv4
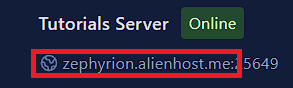
As you might have noticed in your Panel, your server does not contain a IPv4 ,just an alias which could look like e-de-001.alienhost.net while this is easier to read and remember it is unfortunately not always usable in certain configurations and settings, with this guide we will show you how to use the given alias and turn it into numeric IPv4:
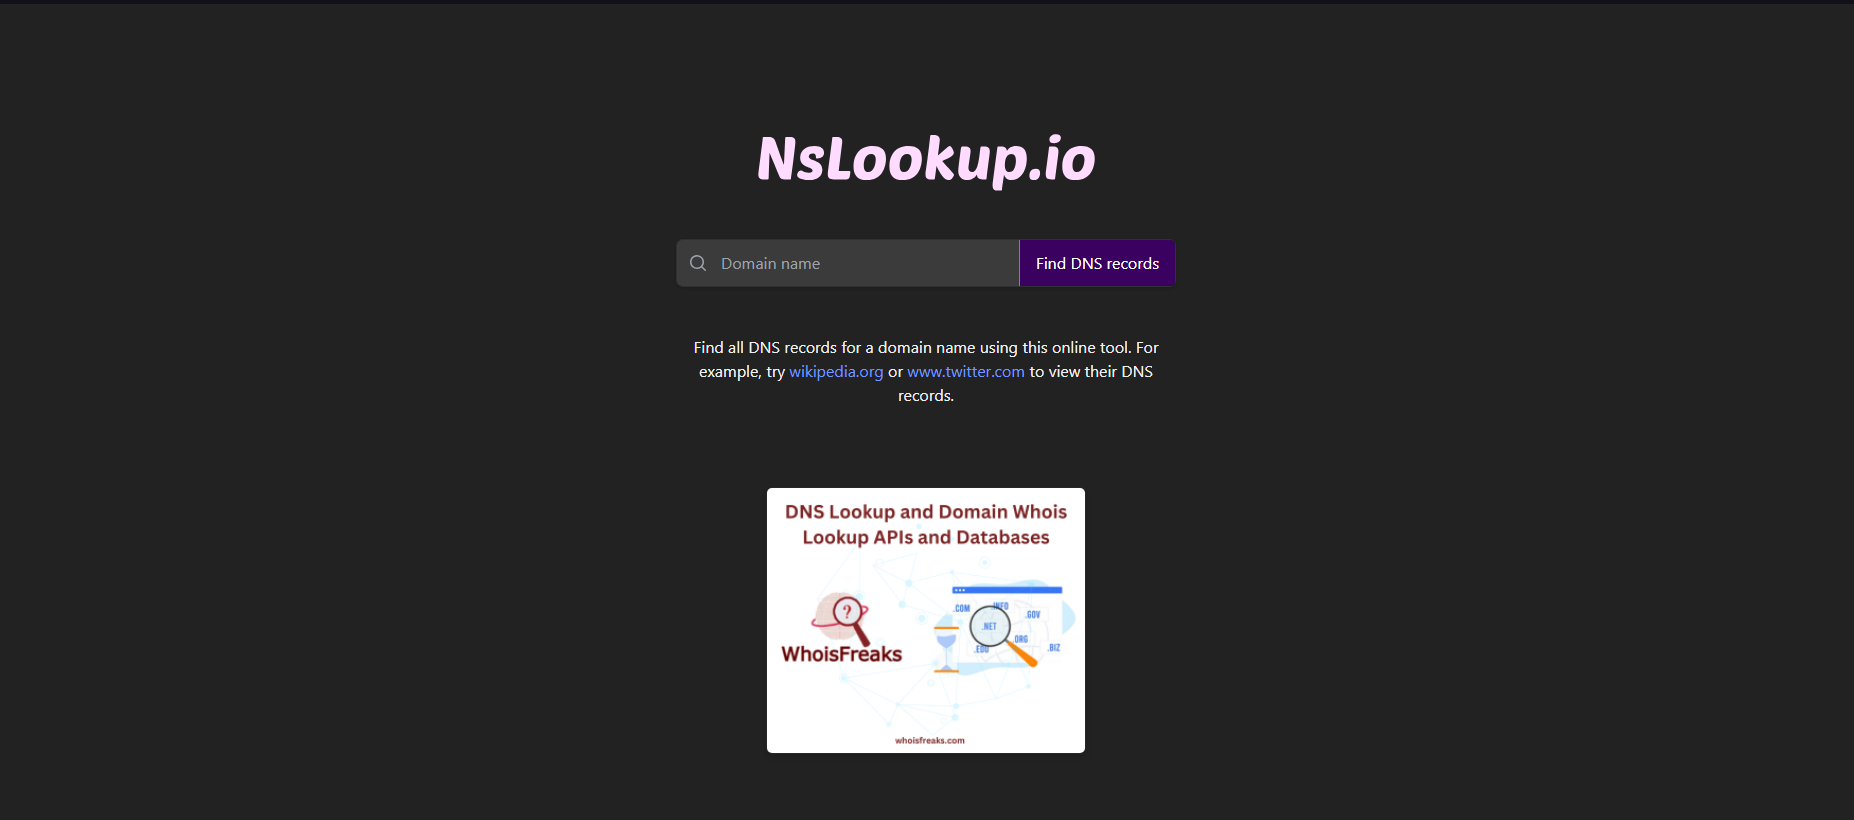
- Navigate to the following website.
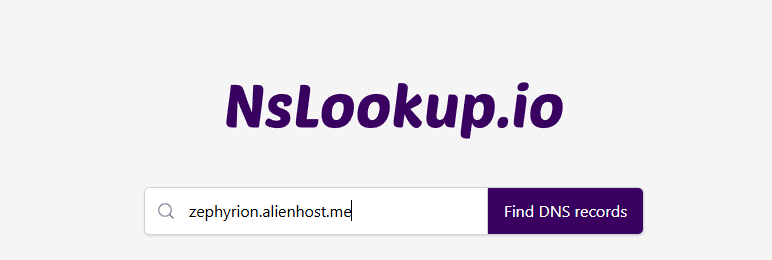
- You will be prompted with a screen similar to this:

- In the field saying Domain Name insert the visible alias of your server

To
and click the button Find DNS records. - You will be prompted with a similar result to this:

Where you can see the IPv4 of your server. In this case, 195.201.85.213.
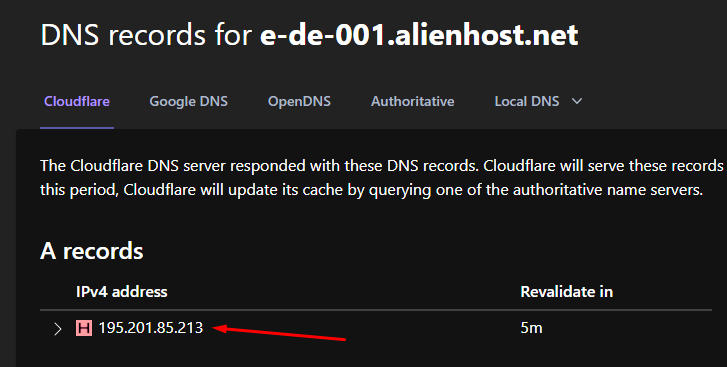
Great! Now you have your IPv4 and you are ready to use it.
SFTP
Filezilla
1. Download
Download Filezilla (Client) by clicking here
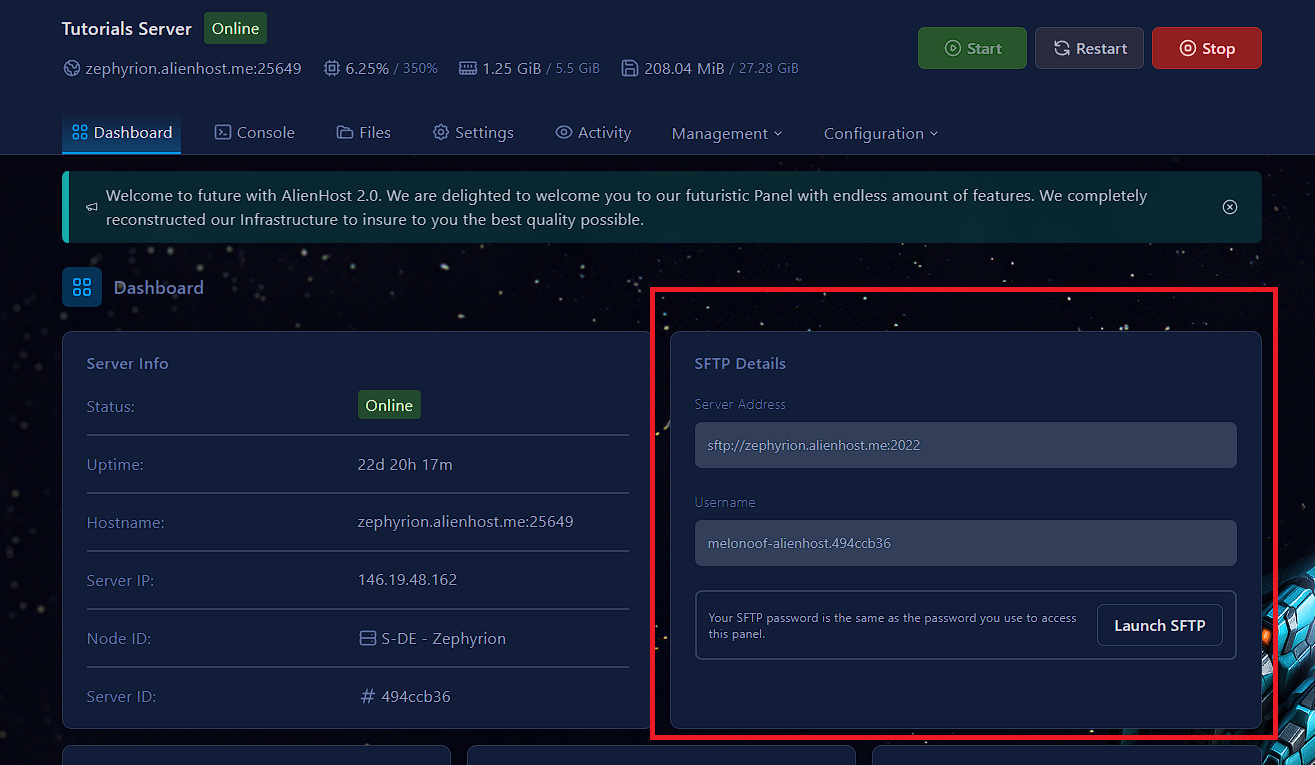
2. Getting credentials
Head to the settings tab of the server(s) you want to transfer files to
3. Connecting
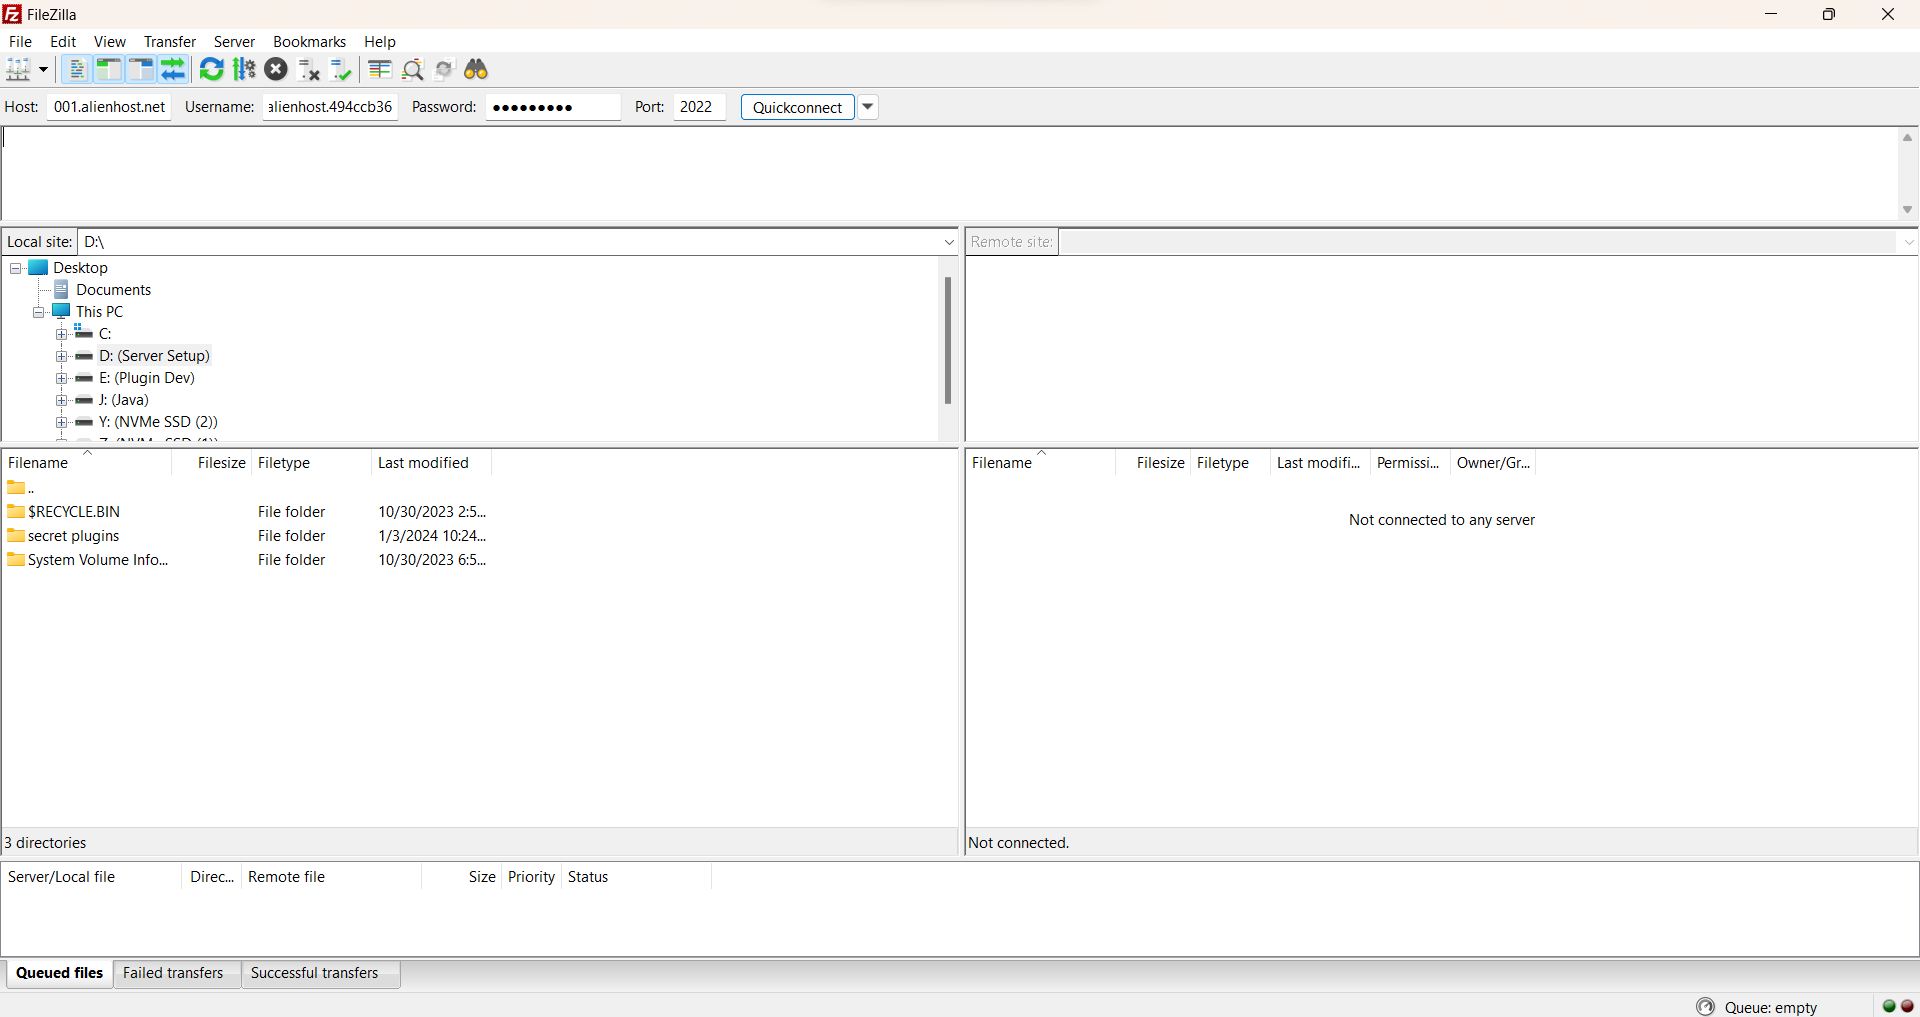
Now start Filezilla, it's going to look somewhat like this:
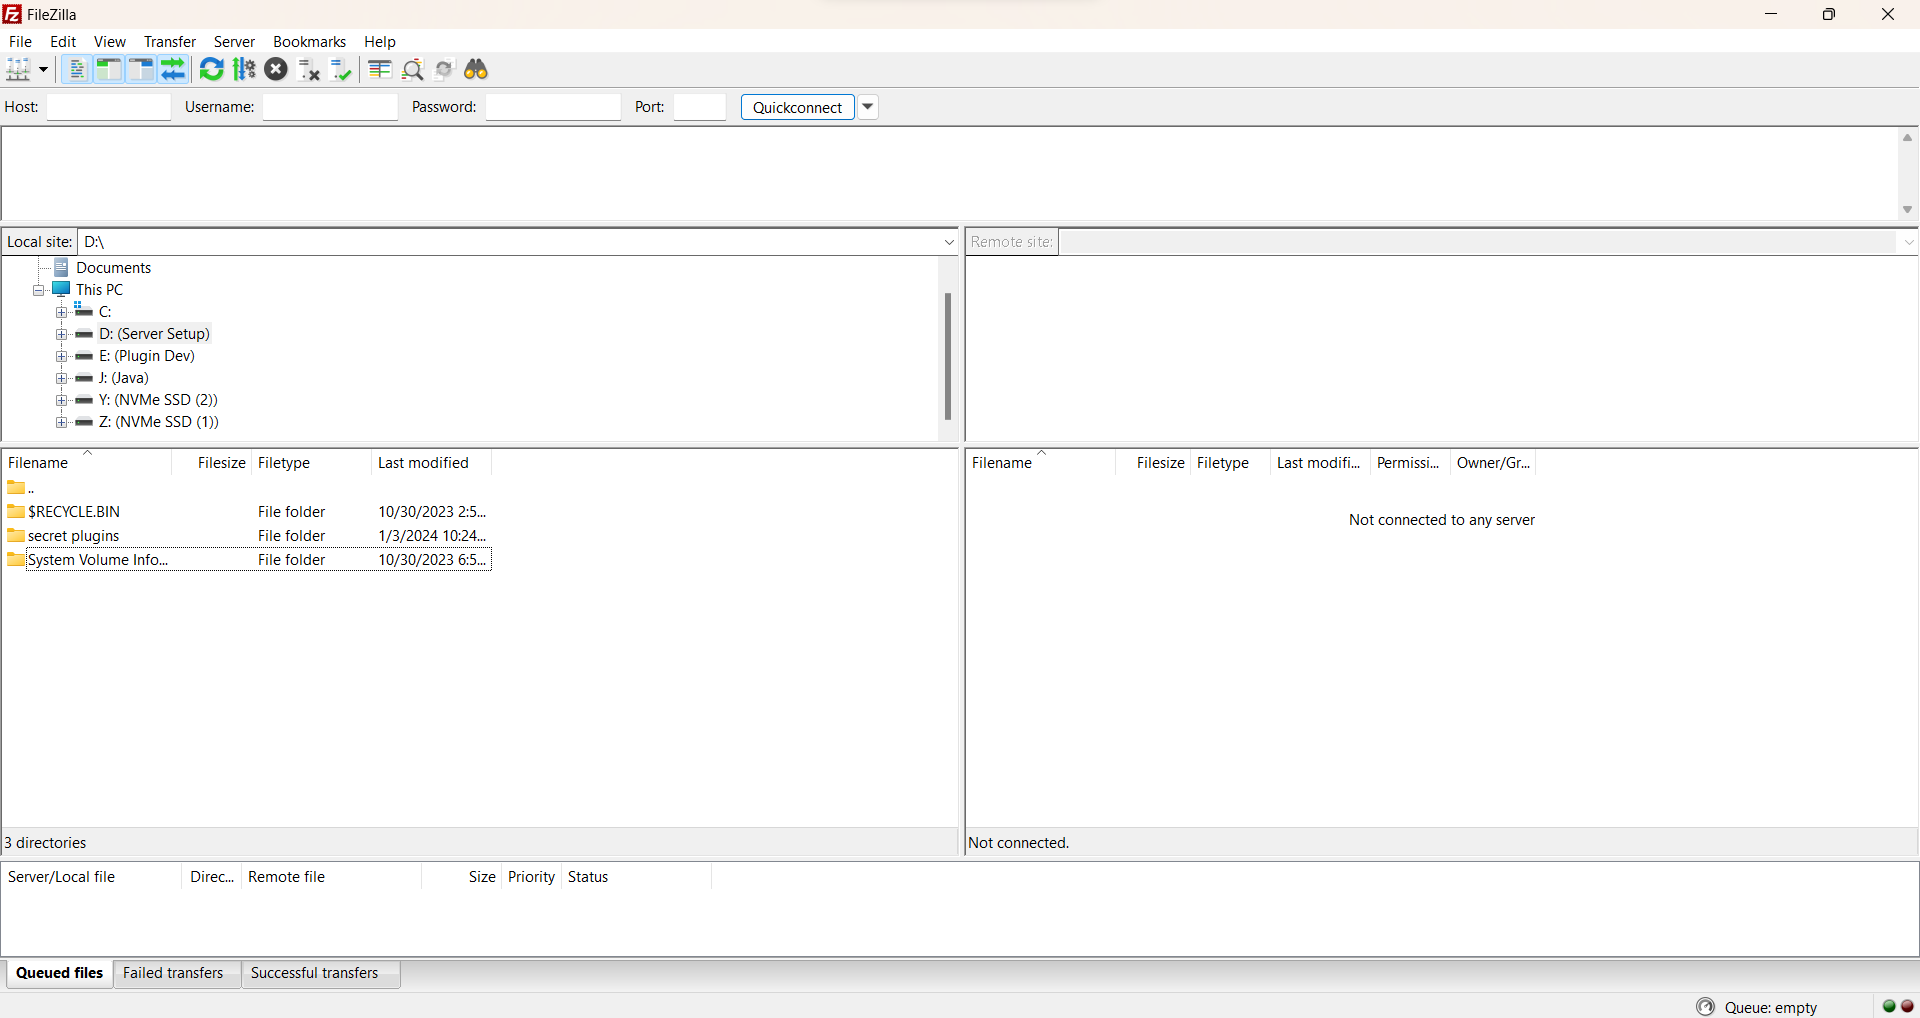
In the host slot, enter the server address without the ":2022" (refer to the image in step 2)
In the username slot you put the user name (refer to the image in step 2)
In the password slot you put your panel's password
In the port slot you put "2022"
Should look like this:
Now click "Quickconnect" and drag & drop the files you want to transfer
Make sure to drag it in the correct folder/directory
WinSCP
1. Download
Download WinSCP
2. Getting credentials
Head to the settings tab of the server(s) you want to transfer files to
3. Connecting
Connect by clicking Launch SFTP, a popup will appear on your screen.
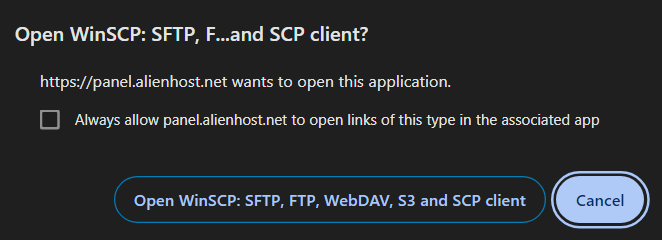
Click on "Open WinSCP"
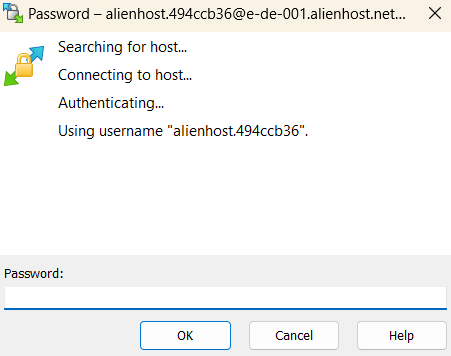
Put in your panel's password and click "Ok"
Now you should be connected (if the password was correct).
3a. How to transfer files
Select the file you want to transfer by left clicking on it, wait 1 or 2 seconds, now click on it again and drag it in the correct directory. You successfully transferred a file!
Databases
Export & Import your SQL Database
Step 1: Get Database Connection Details from Pterodactyl Panel
-
Log in to Pterodactyl Panel:
- Login into your account on the panel, if you haven't
-
Access the Server’s Database:
- Go to the server where the database is allocated at.
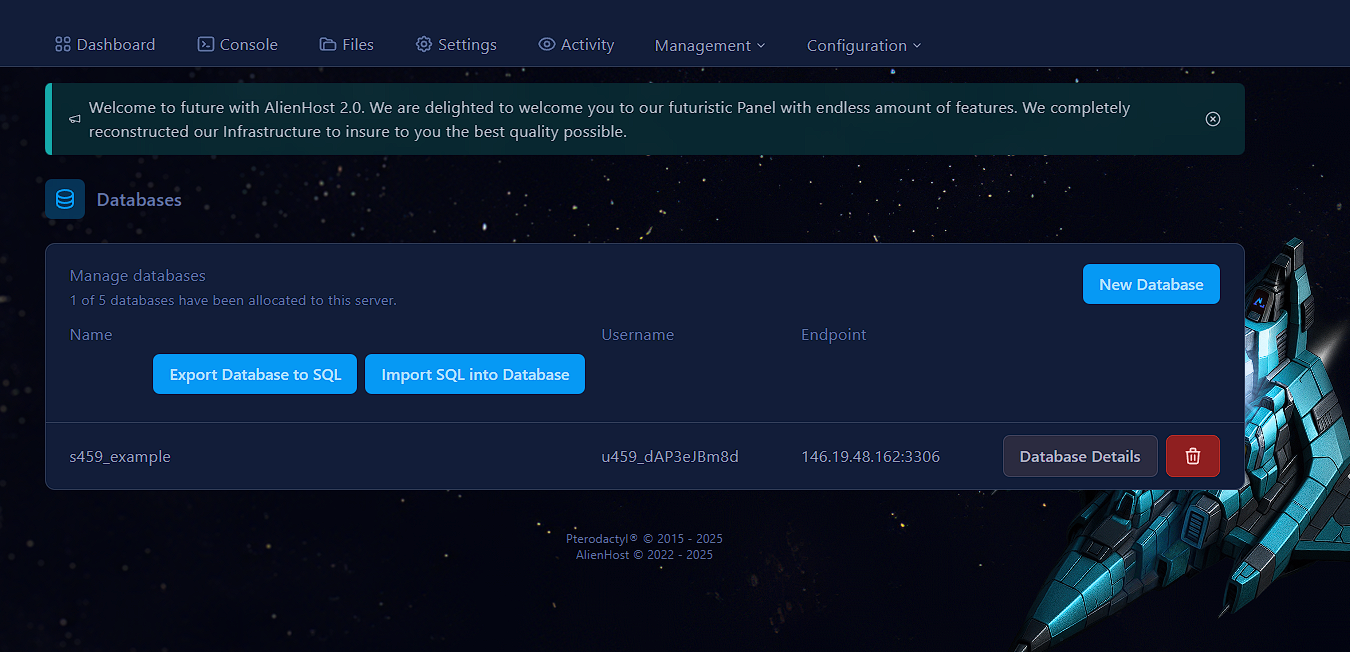
- Find and click on the "Databases" tab on the navigation menu.

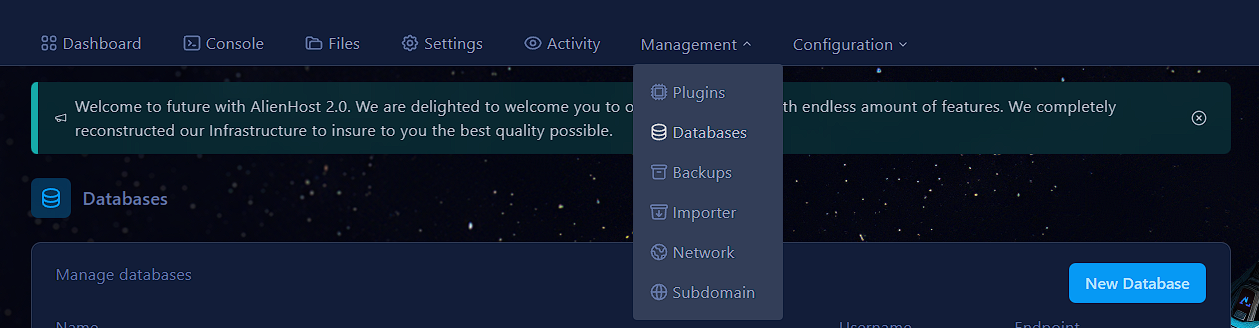
Here, to export/import a database file (.sql format), click on one of the 2 buttons.
Exporting
Click on Export Database to SQL.
Now select a database to export (here it's s459_example)
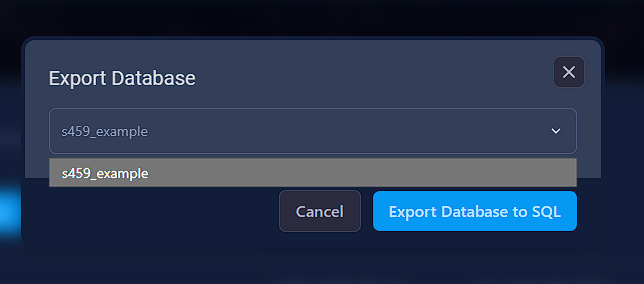
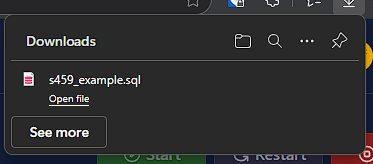
Now press Export Database to SQL on this pop-up, and it will automatically download for you.
Importing
Click on Import SQL to Database
You will be prompted to the following pop-up (toggle the options you need)
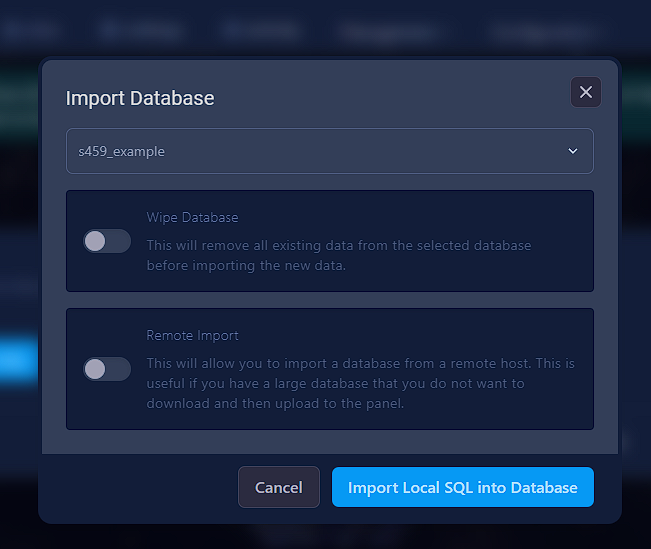
Click Import Local SQL into Database
It will bring a new pop-up where you can find your .sql files on your computer.
Eggs
How to change your server's egg
Go to AlienHost's website and click on Login (or Register, if you don't have an account yet)
Click on your service (in the example it's "Ship Kasilur")
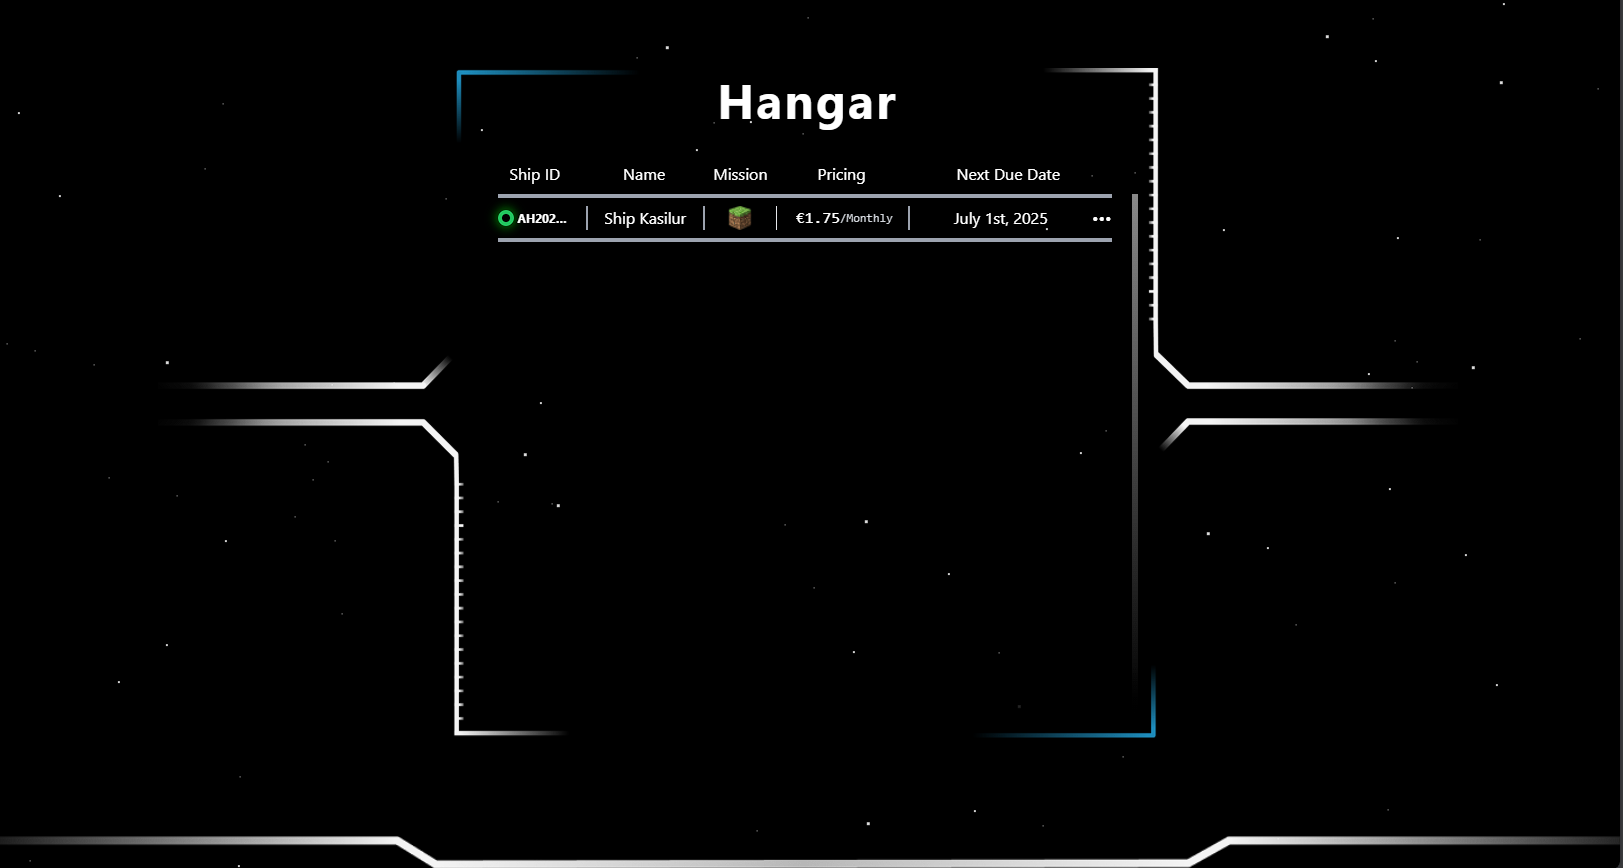
You'll find yourself in the following screen. Click Manage Fleet
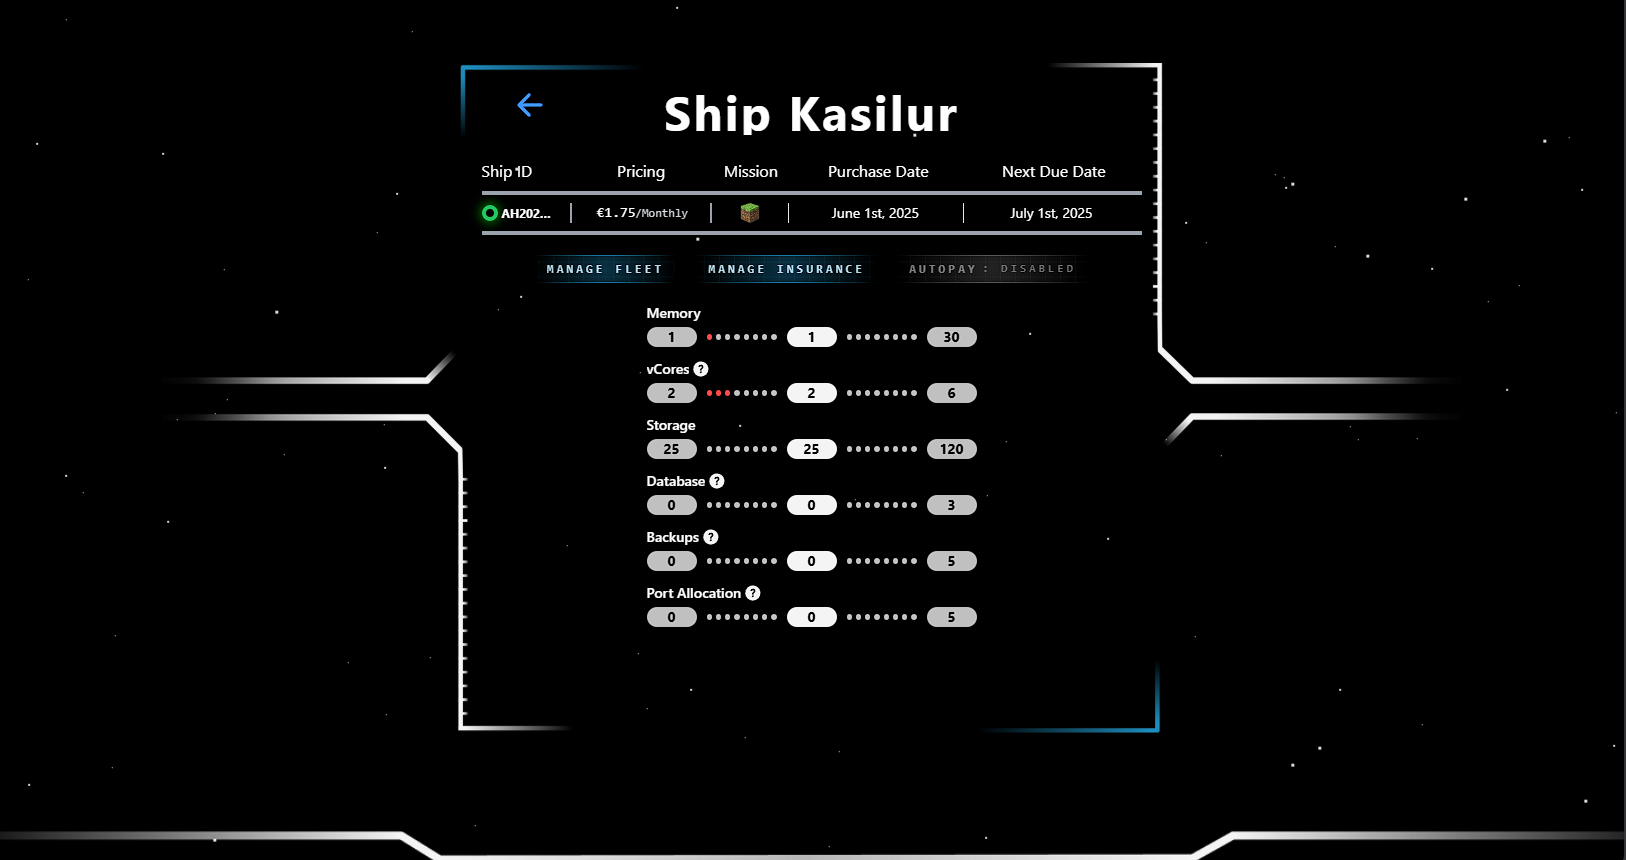
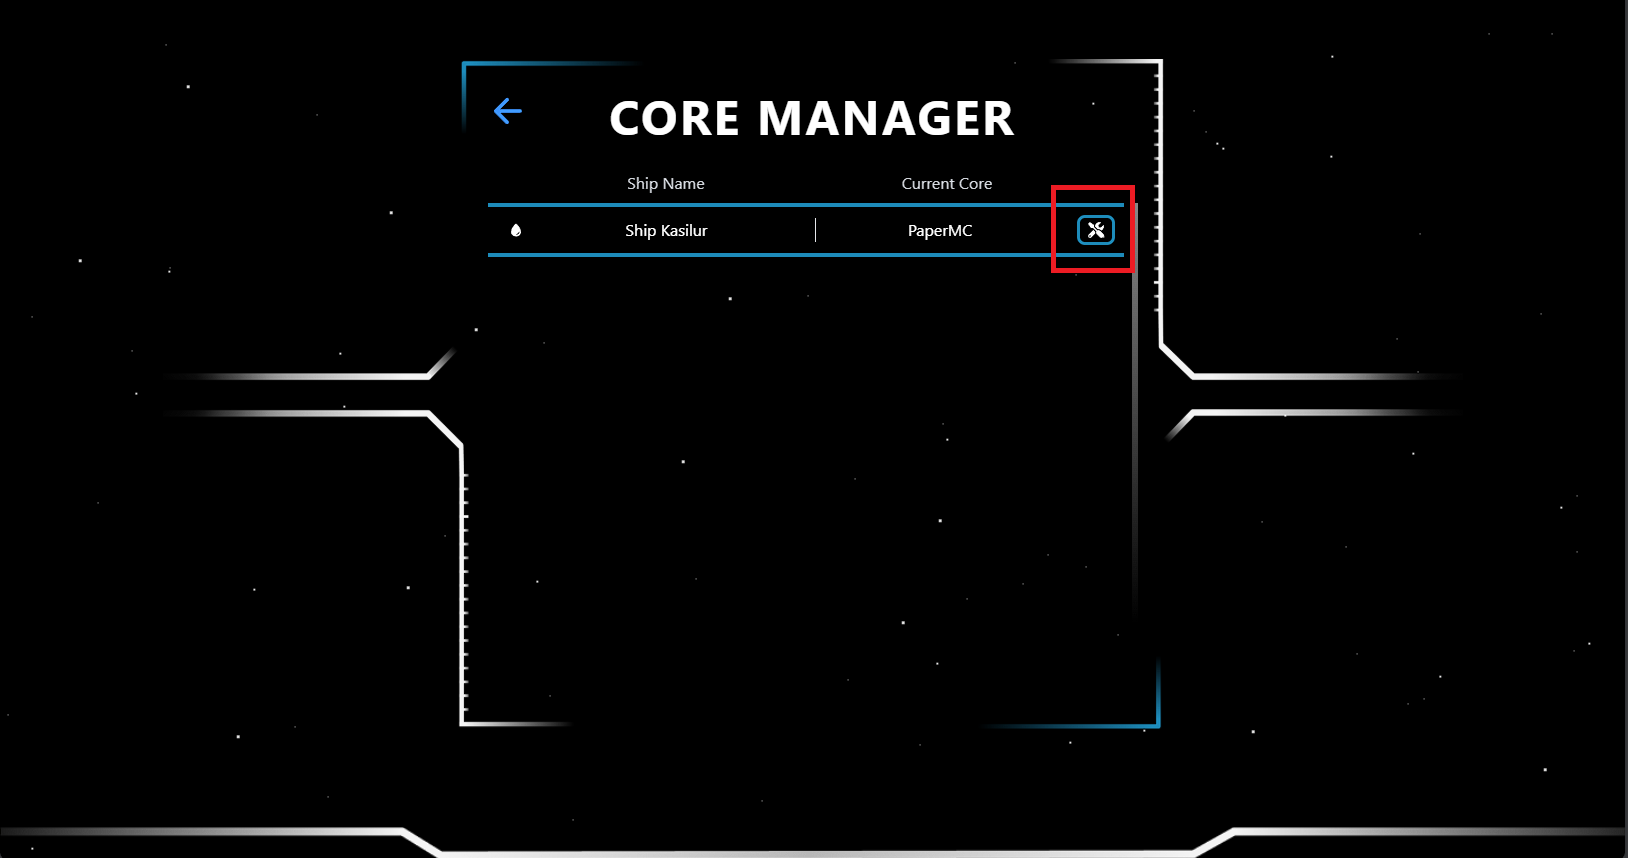
Now this screen will pop up, select Core Manager.
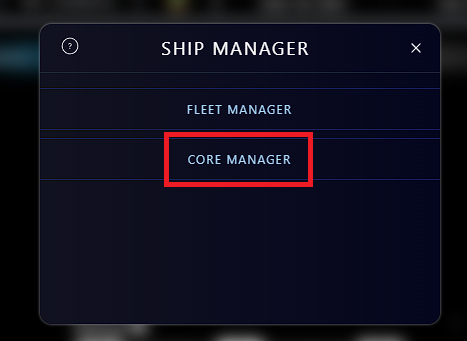
Here you can see your current egg, for the server. Click on the tools icon to change your egg.
Now you'll find yourself in the Core Changer page. Select your desired egg from the dropdown menu, and toggle the I am sure about this checkbox, and then click Set Ship Core
