Dynmap
- Installation and usage
- Changing Storage Type (Optimization)
- Changing the resolution of the map (Optimization)
Installation and usage
Prerequisites
Spigot/Paper 1.10.2+ (This guide makes use of 1.19.4)
Java 11+ (This guide makes use of Java 17+)

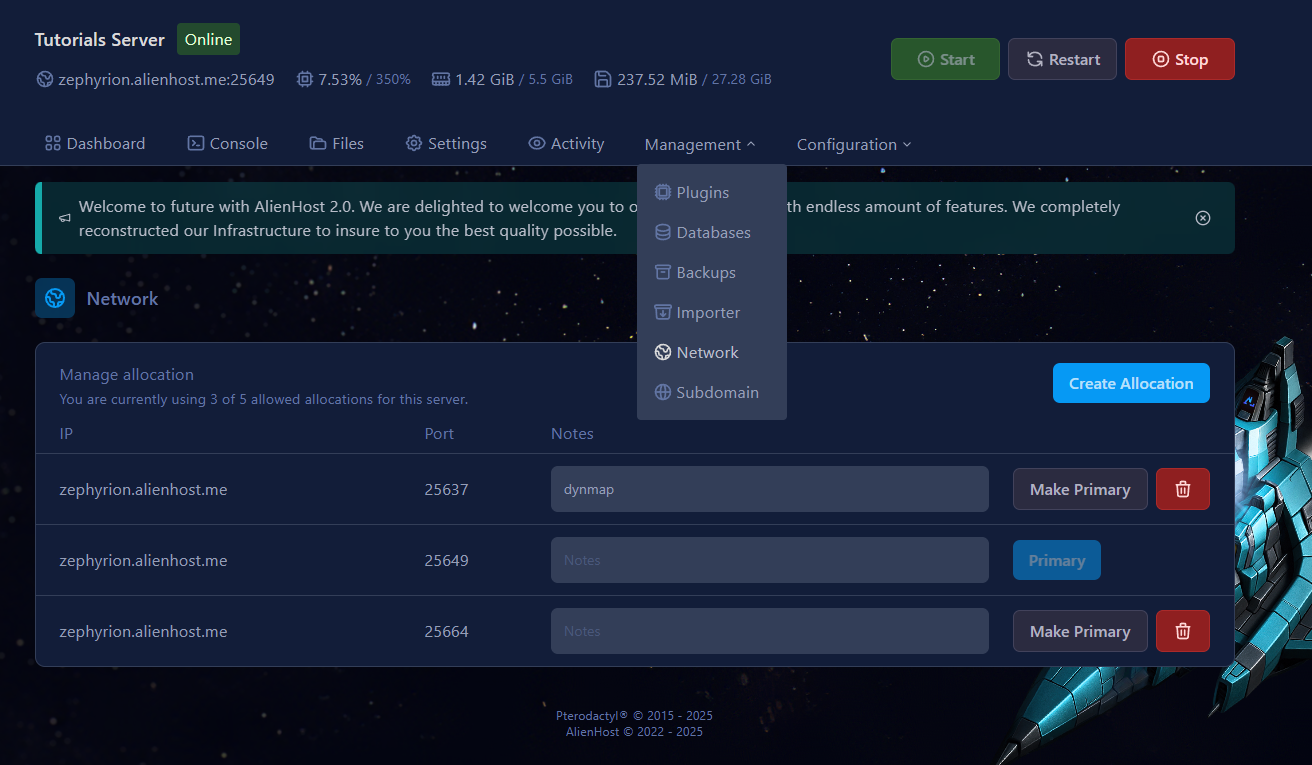
Additional port allocation (In this guide the port is 25663)
Free storage (a lot)
Installation
Download dynmap
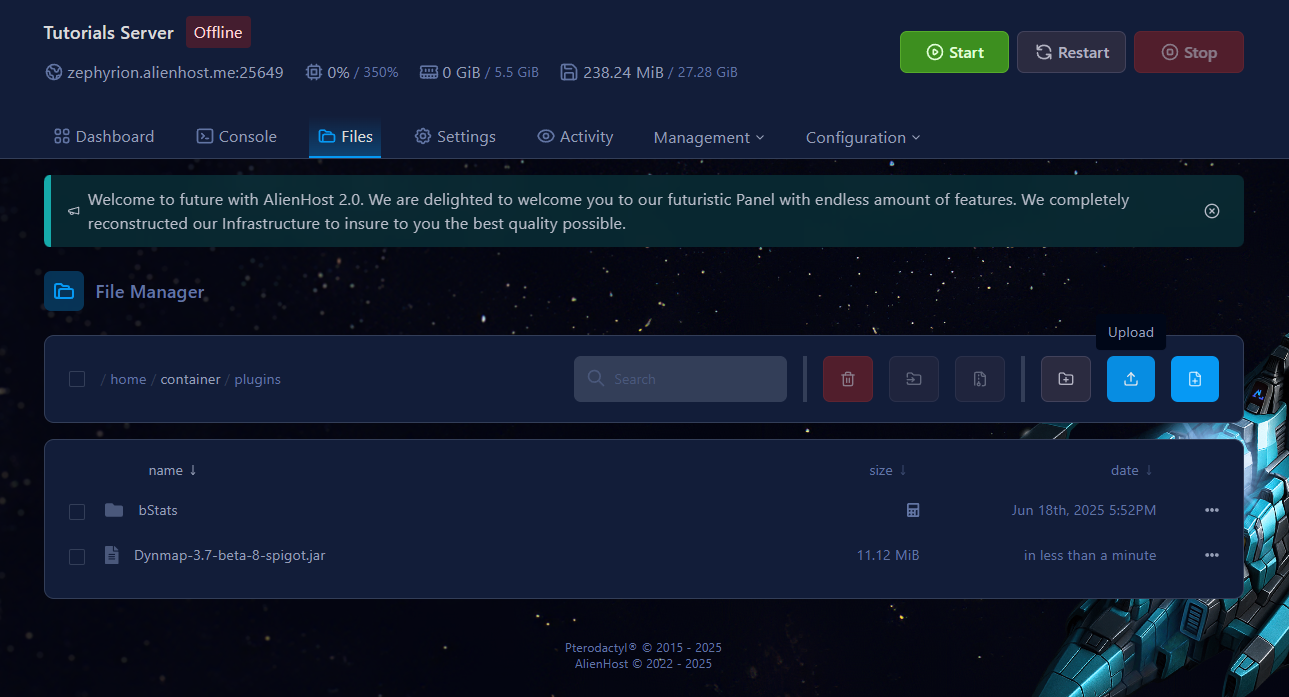
Upload it in the plugins folder, from the File Manager.
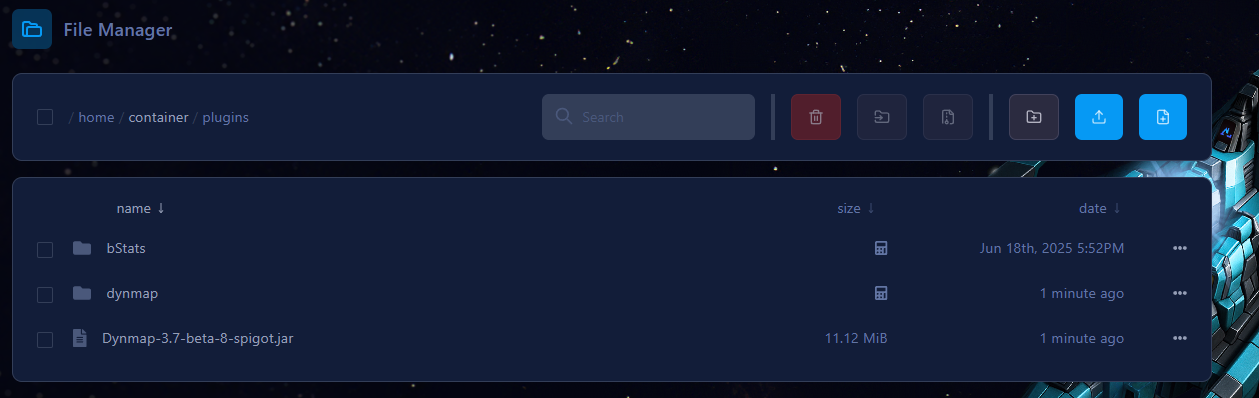
(Re)start the server to load the plugin. You'll know it loaded successfully if it generated a folder named "dynmap"
Web Server
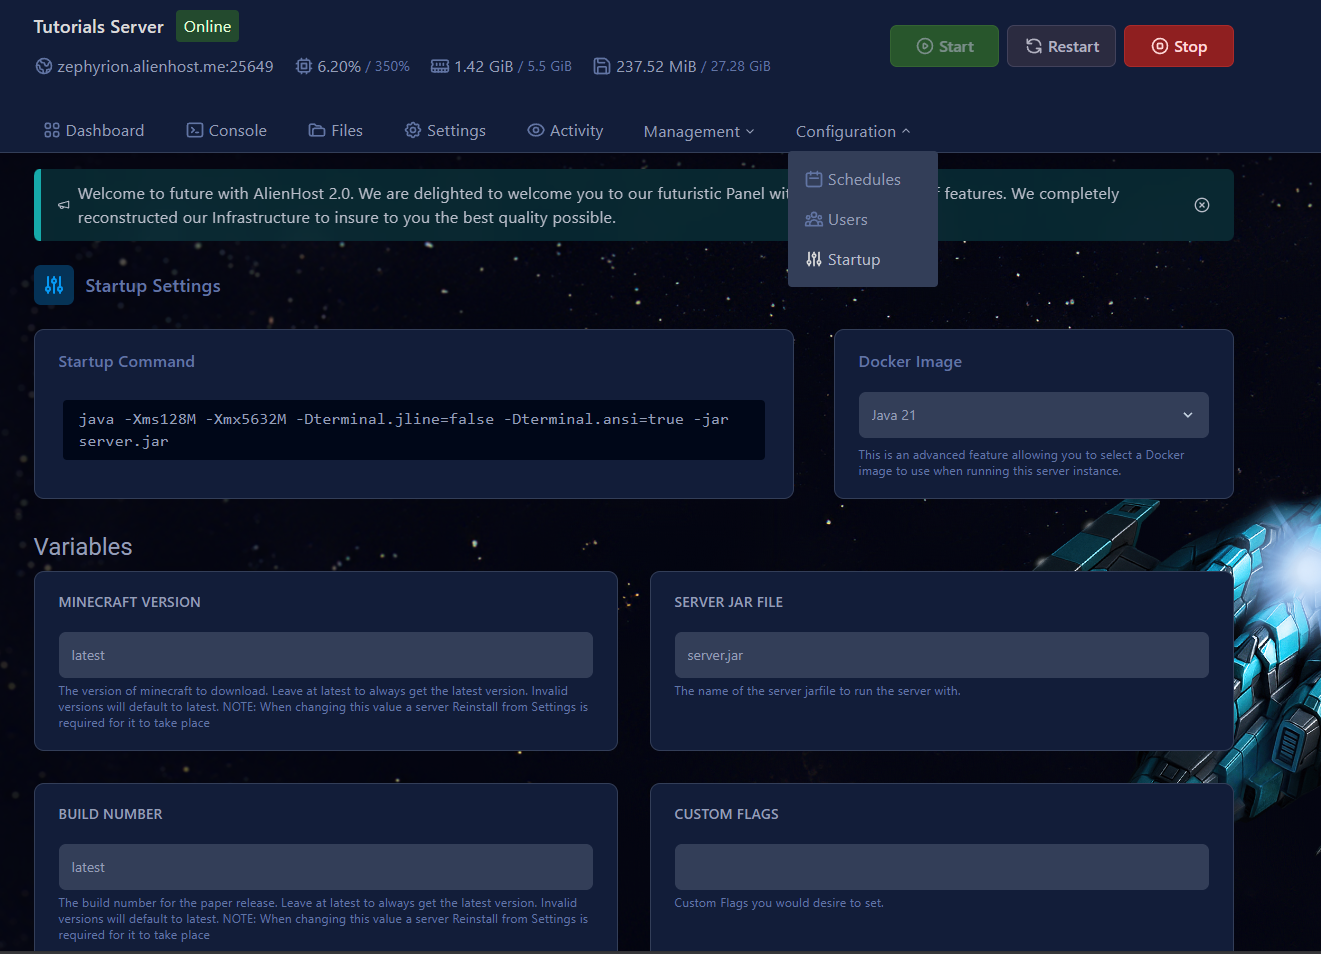
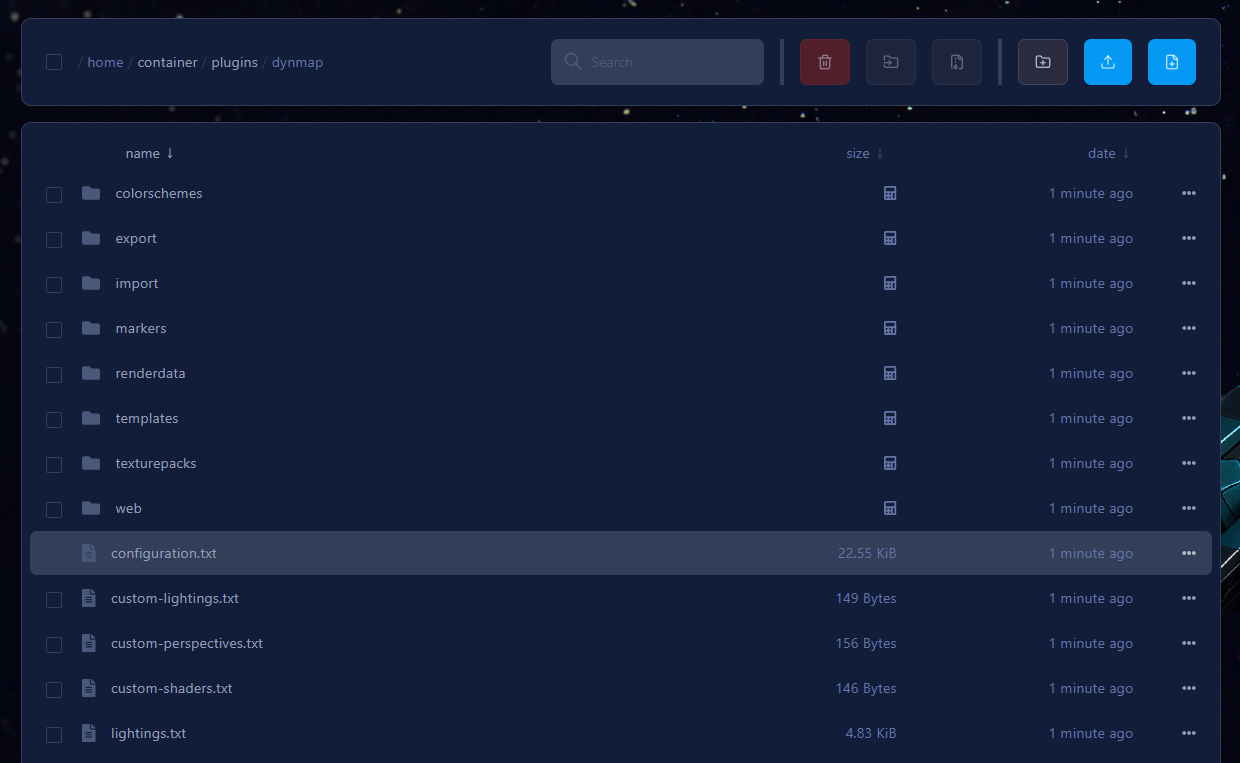
In the Configuration.txt, located at plugins/dynmap/Configuration.txt:
Find (use CTRL + F shortcut) webserver-port field within the file.
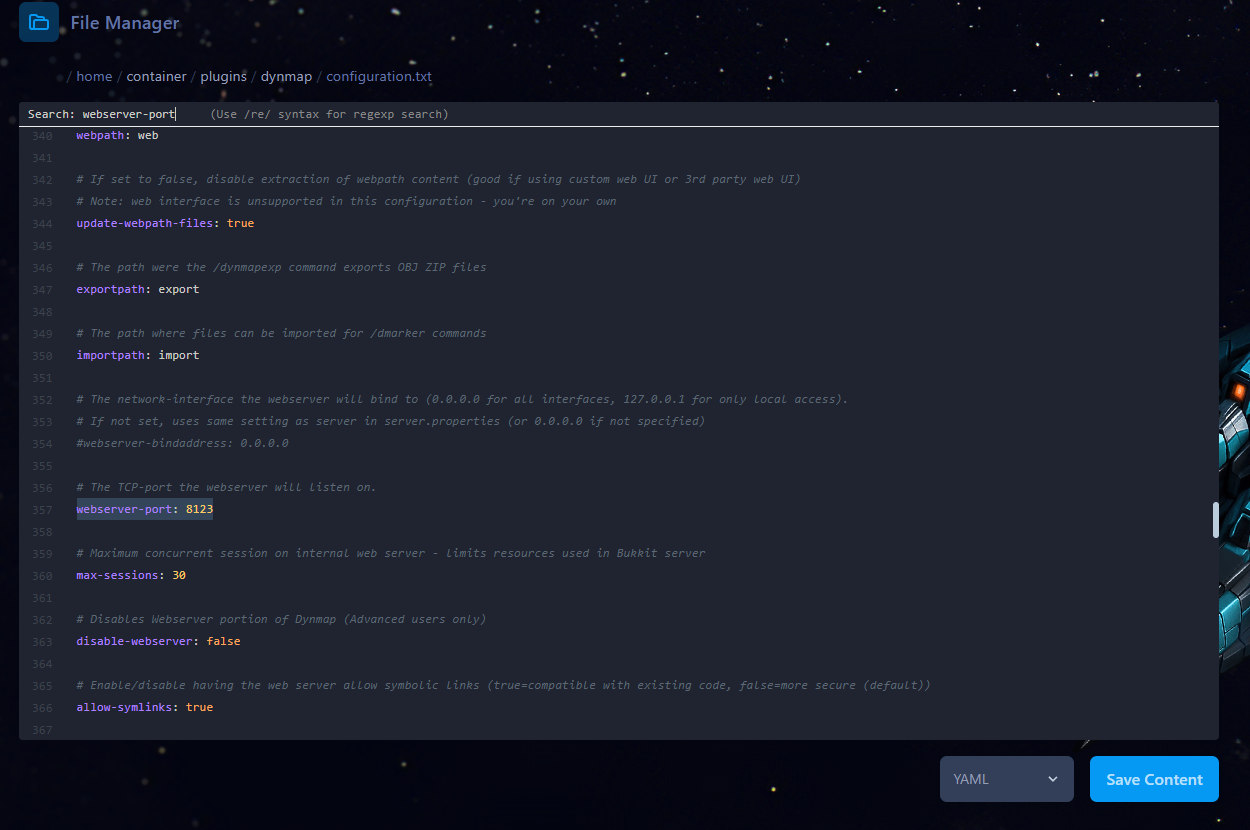
Change the port's value to your additional port allocation's value.

Restart the server to apply the changes
Changing Storage Type (Optimization)
What is this chapter about?
In this chapter I'll help you optimize Dynmap. The default configuration is not the best, it can be improved and that's what we are doing.
Changing Storage Provider
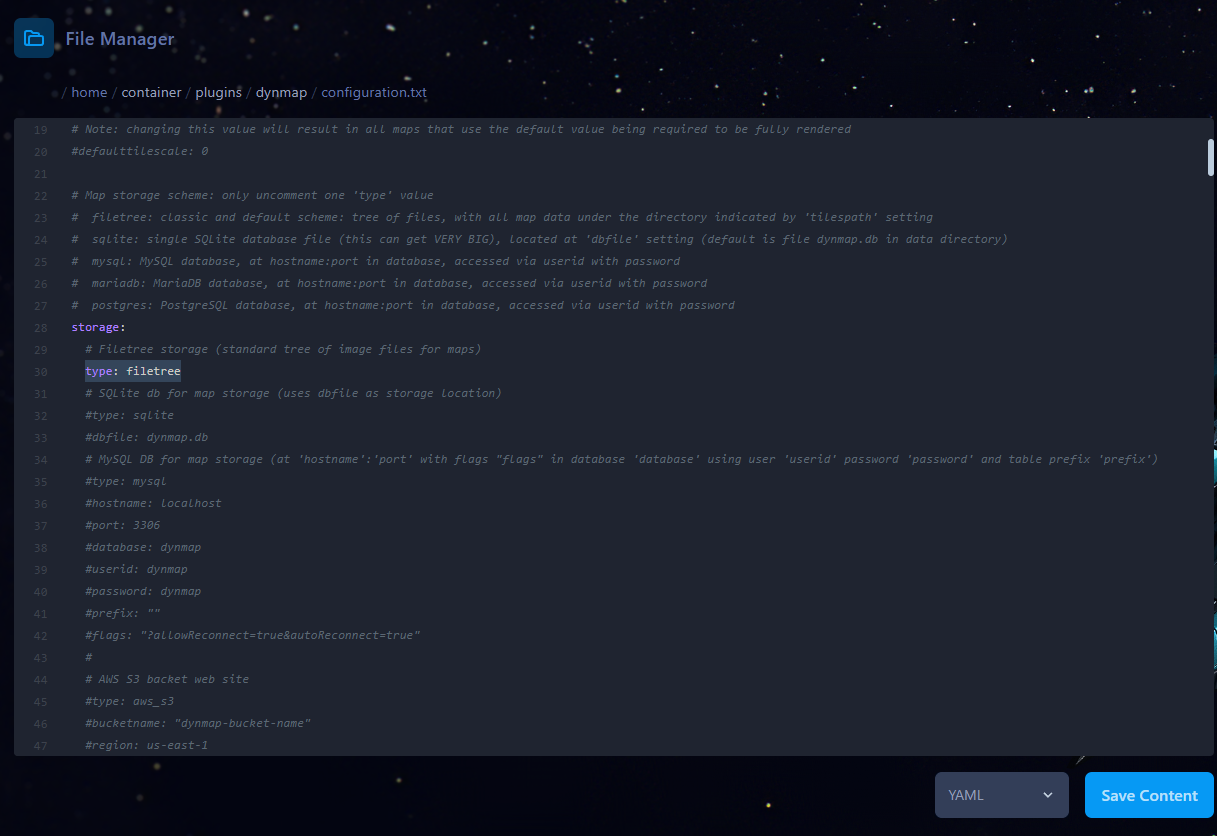
By default the storage type is set to filetree (As shown by the following image).
The configuration is located at plugins/dynmap/configuration.txt.

SQLite
We would suggest you to switch over to SQLite if you were using the default filetree storage.
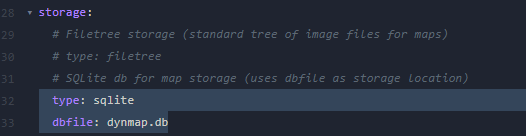
- Change
typeto sqlite (case non-sensitive) - Make sure
typeanddbfileare the only enabled settings (to comment lines out, put a#in front of the line. dbfileallows you to customize the database's name. Doesn't have any performance impact. The file's extension must be.db.- When using Fabric/Forge you'll need to make use of Kosmolot's SQLite mod.
MySQL
Another option is MySQL we don't really suggest you to use this for DynMap due to network latency and other external factors
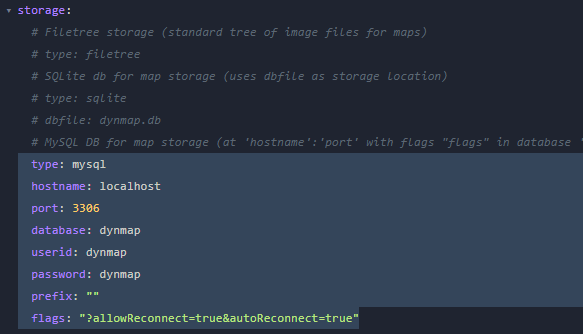
- Change
typeto mysql (case non-sensitive) - Change the other highlighted values to the ones generated. Refer to this guide.
- Now save the file and restart the server to have the new storage type applied.
Changing the resolution of the map (Optimization)
Possible values |
Description |
vlowres |
Uses the HDMap renderer with view from the SE with the "vlowres" resolution (2 pixels per block edge) |
lowres |
Uses the HDMap renderer with view from the SE with the "lowres" resolution (4 pixels per block edge) |
hires |
Uses the HDMap renderer with view from the SE with the "hires" resolution (16 pixels per block edge) |
low_boost_hi |
Uses the HDMap renderer with view from the SE with the "lowres" resolution (4 pixels per block edge), with boosted tiles rendered at "hires" (16 pixels per block edge) |
hi_boost_vhi |
Uses the HDMap renderer with view from the SE with the "hires" resolution (16 pixels per block edge), with resolution boosted tiles rendered at 'vhires' resolution (32 pixels perblock edge) |
hi_boost_xhi |
Uses the HDMap renderer with view from the SE with the "hires" resolution (16 pixels per block edge), with resolution boosted tiles rendered at 'xhires' resolution (64 pixels perblock edge) |
Brief Explanation
These values allow you to either save storage (vlowres saves the most) or have a high quality map (hi_boost_xhi provides the best quality/resolution for the map).
Which option should I choose?
The default value is hires. That probably works for most server owners. But for those who lack storage, they may be prompted to pick a "storafe saver" option such as vlowres or lowres.
Additionally High Resolution maps take a lot of time to render (and an exhorbitant amount of storage).
Where and how to change the resolution
Through the use of the File Manager, reach the following path: /home/container/plugins/dynmap (NOTE: This is the path for Spigot/Paper servers. These are all folders), where you'll find a text file named configuration.txt. Open it.
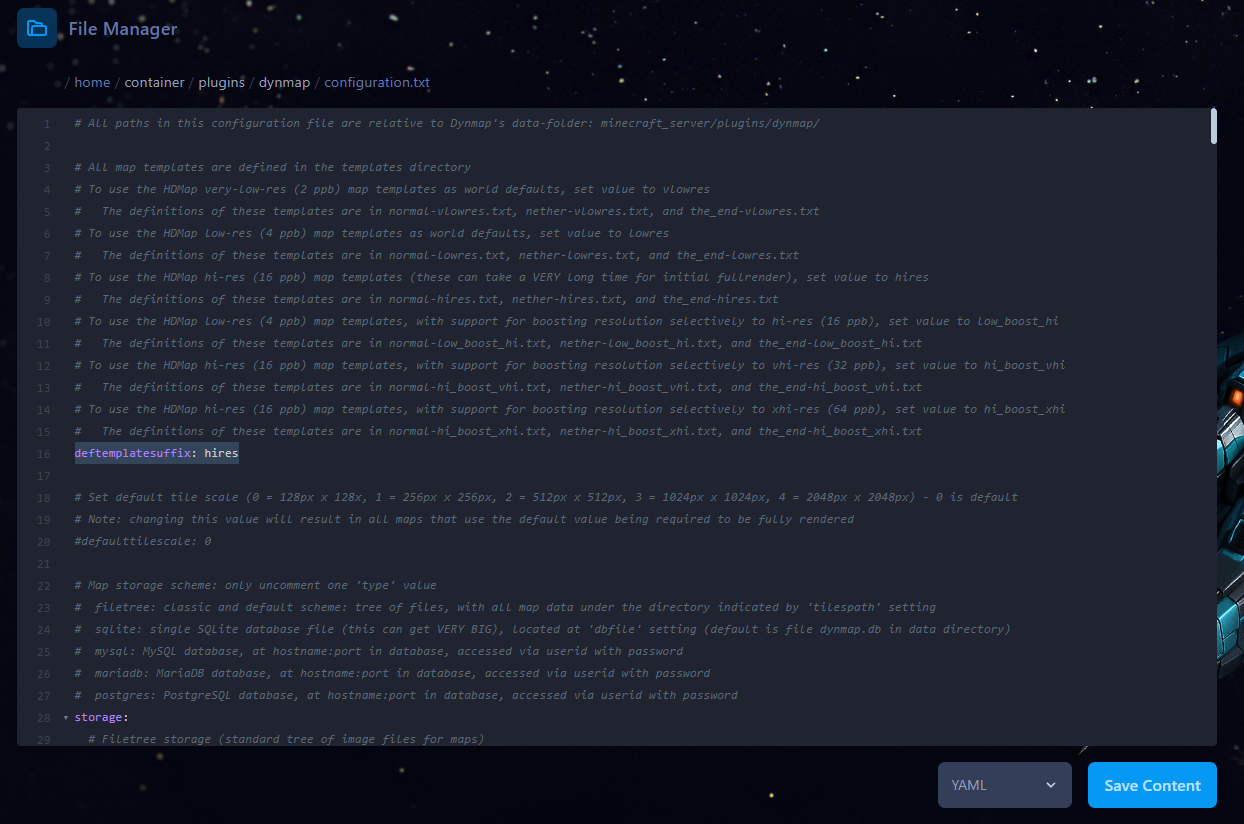
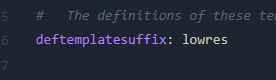
Now change deftemplatesuffix with one of the values given at the beggining of this article. Save the file with the Save content button and restart the server through the console.
Examples
Very Low Resolution:

Low Resolution: