Plan
Plan - Paper
What is Plan?
Plan is a plugin that provides detailed analytics for Minecraft servers, tracking player activity, server performance, and engagement. It features a web-based dashboard, multi-server support, and integrations with popular plugins. Ideal for monitoring server health, understanding player behavior, and improving retention, it helps server admins make data-driven decisions.
Requirements
Additional port (or network allocation)
Java 11+
Installation
Download Plan
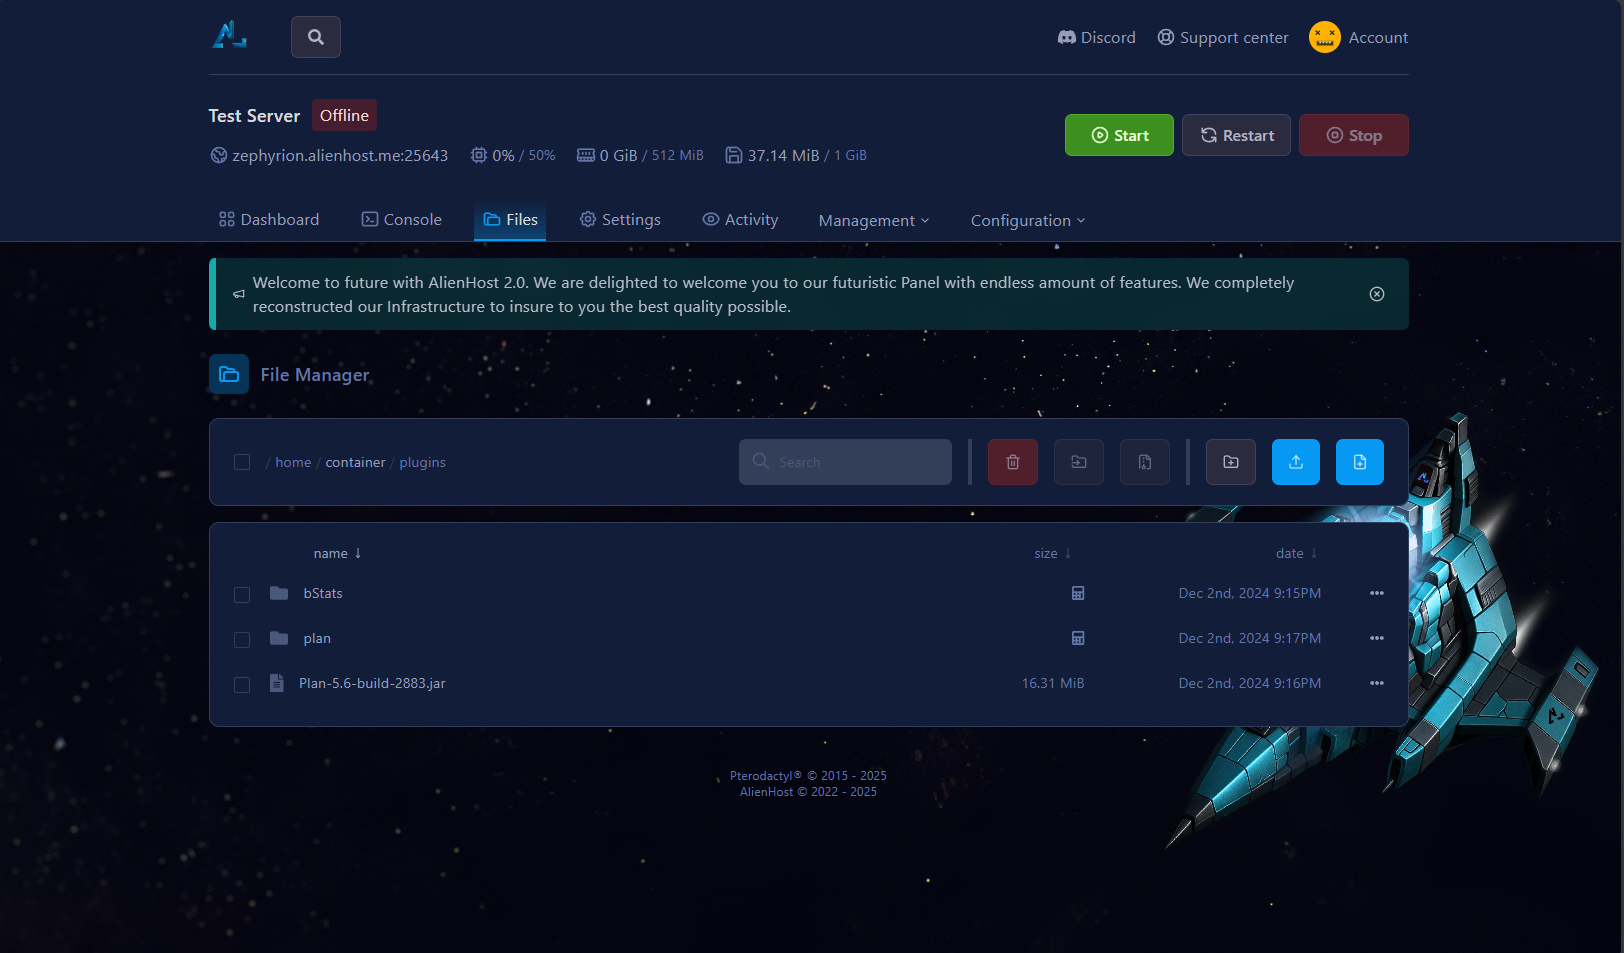
Place Plan.jar to the plugin directory through the file manager in the plugins folder

Restart the server to load the folders of the plugins.
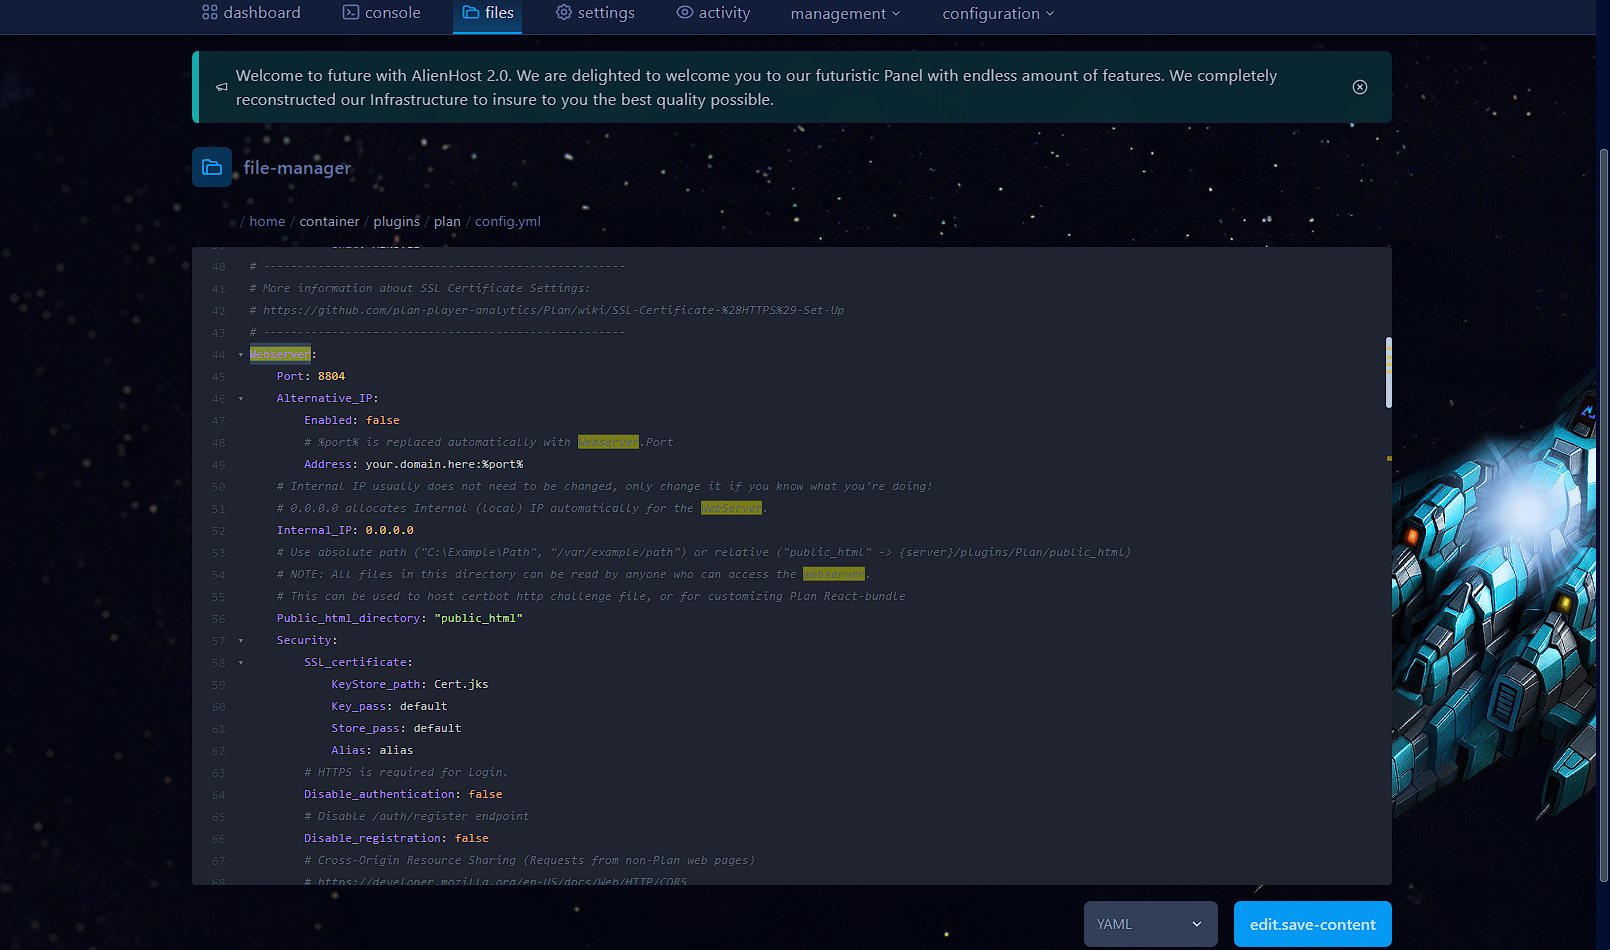
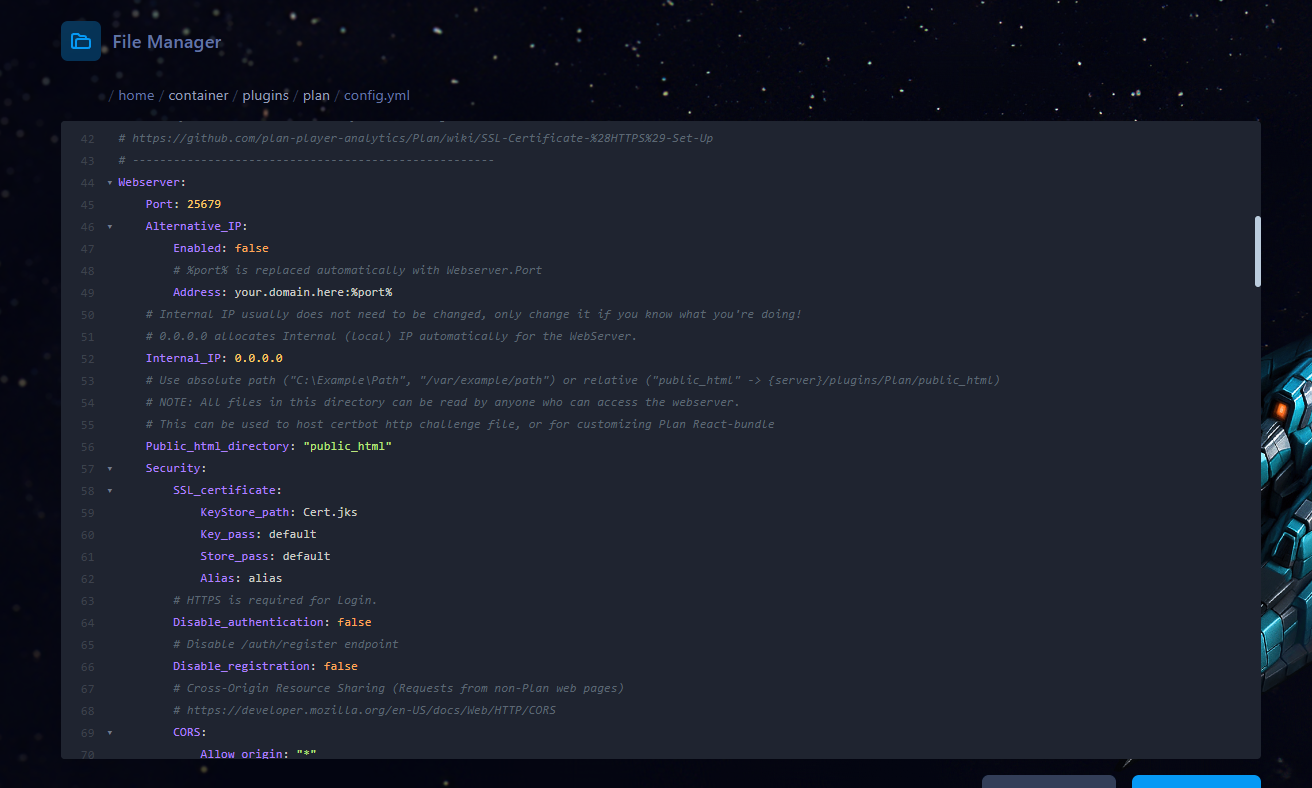
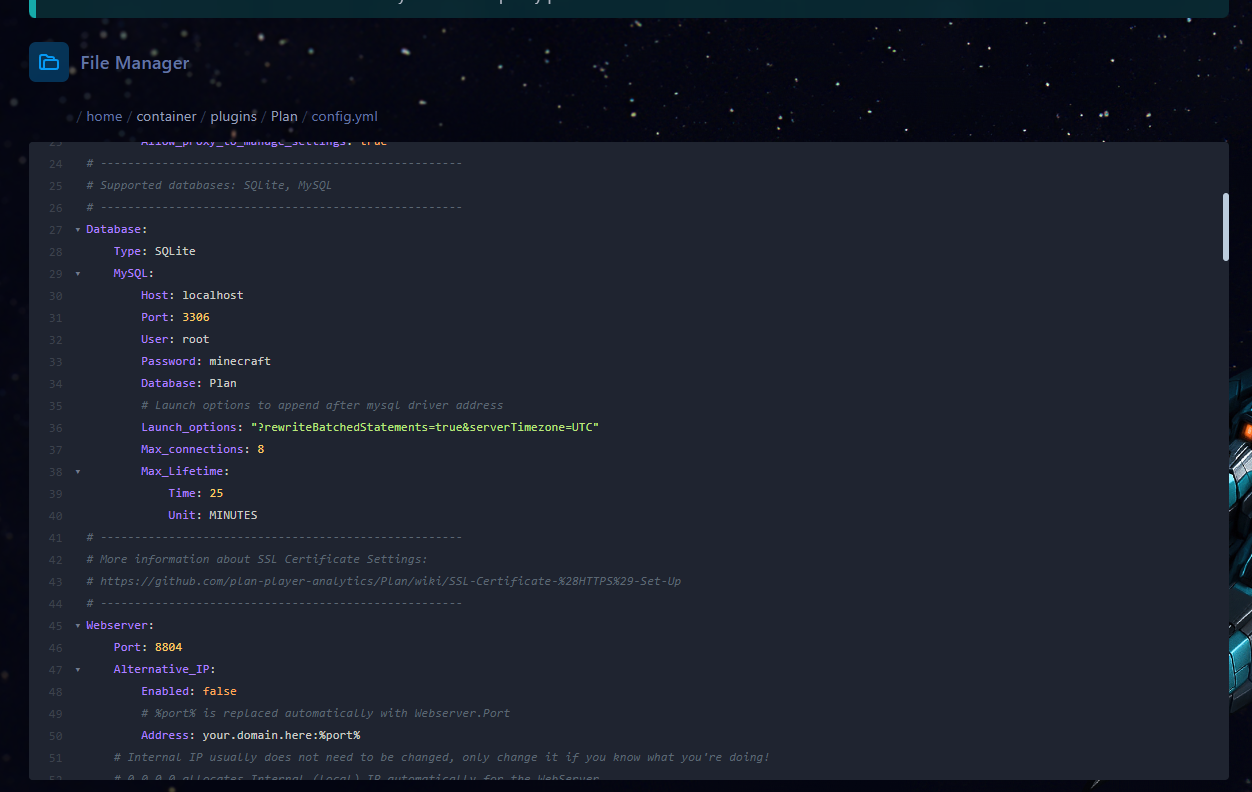
The default port for the webserver set in the config is 8804 (line 44), change it to the one allocated in the requirements section.
Change the IP Address through Webserver.Alternative_IP field
Restart the server
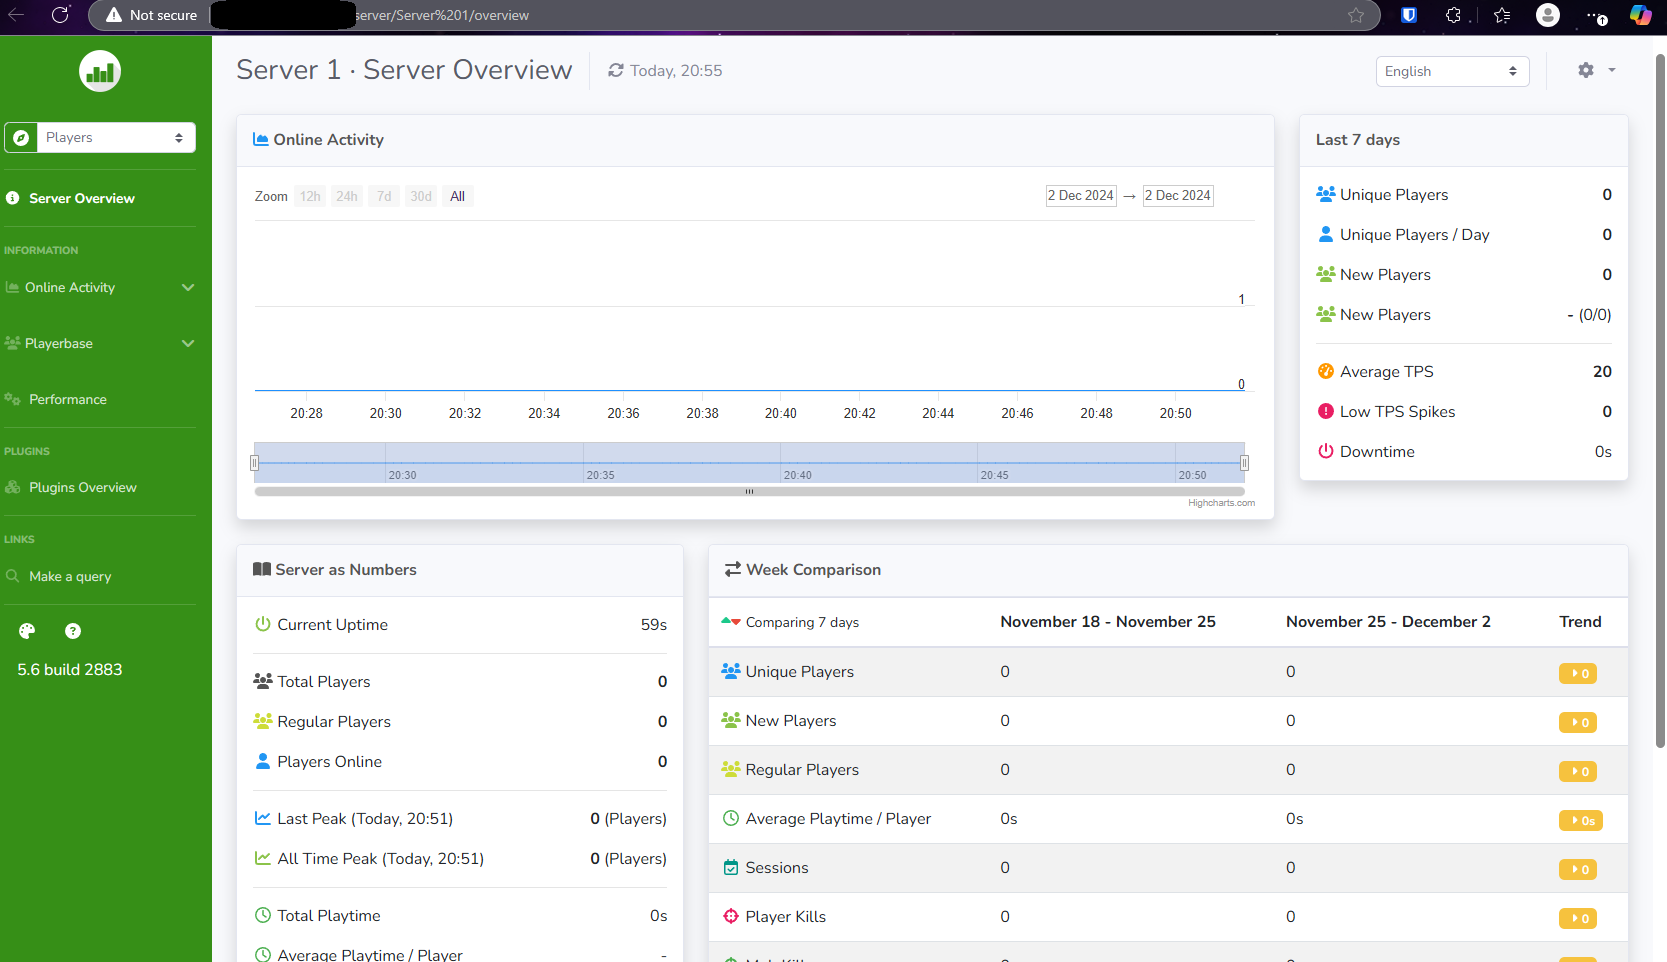
Access The Web Interface
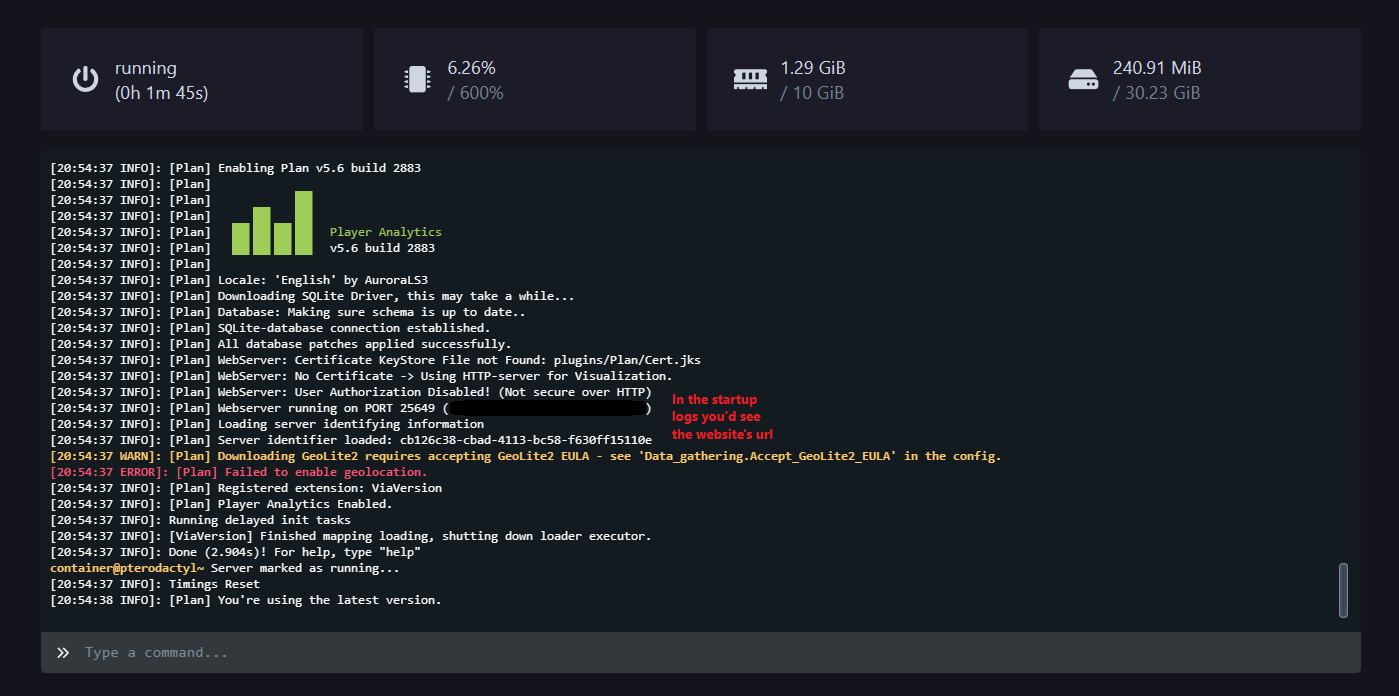
Now go on your web browser and look for http://{yourdomain.com}:{port}
replace {yourdomain.com}:port with your server's actual domain/ip address and port
Plan - Velocity
What is Plan?
Plan is a plugin that provides detailed analytics for Minecraft servers, tracking player activity, server performance, and engagement. It features a web-based dashboard, multi-server support, and integrations with popular plugins. Ideal for monitoring server health, understanding player behavior, and improving retention, it helps server admins make data-driven decisions.
Requirements
Additional port (or network allocation)
Java 11+
MySQL database
Installation On Proxy
Download Plan
Place Plan.jar to the plugin directory through the file manager
Default Webserver Port in the config is 8804, change it to the one allocated.
Change the IP Address through Webserver.Alternative_IP field (don't remove %port% as it automatically hooks to the chosen port).
Set Webserver.Alternative_IP.Enabled to true
Set Server.IP to a domain (e.g. alienhost.net) which is actively pointing at your minecraft server (through the use of DNS records)
Edit Database.MYSQL fileds appropriately (Host, Port, User, Password are required fields).

Installation On Backends
Place Plan.jar to the plugin directory through the file manager
Edit Database.MYSQL fields and Database.Type appropriately. Note: They must be the same as the proxy's
Database.Type should be set to MySQL.

Set Disable_Webserver to true.
Restart the server or reload the plugin.
Access The Web Interface
Now go on your web browser and input http://{yourdomain.com}:{port}
replace {yourdomain.com}:port with your server's actual domain/ip address and port