Valheim Server Setup
How to
Change Server Name
Before following these steps, make sure to stop your server first. This is to avoiding breaking anything on your server while you edit.
Step 1: Head to your game panel and look for your Startup icon on the left hand side.
// Photos to be added on AH 2.0
Step 2: Look for the box that says SERVER NAME. When you find this box, click on it and add what ever you want your server name to be.
// Photos to be added on AH 2.0
After Completing these steps, you can now go and start you server.
Add Server Password
Before following these steps, make sure to stop your server first. This is to avoiding breaking anything on your server while you edit.
Step 1: Head to your game panel and look for your Startup icon on the left hand side.
// Photos to be added on AH 2.0
Step 2: Look for the box that says SERVER PASSWORD. When you find this box, click on it and add your new server password.
// Photos to be added on AH 2.0
After Completing these steps, you can now go and start you server.
Add Crossplay
Before following these steps, make sure to stop your server first. This is to avoiding breaking anything on your server while you edit.
Step 1: Head to your game panel and look for your Startup icon on the left hand side.
// Photos to be added on AH 2.0
Step 2: Look for the box that says ENABLE CROSSPLAY. When you find this box, just click on the slider and it will go grey to purple. Now you have Crossplay Enabled, if you want to disable it. Just click the box again and it will turn purple to grey letting you know Crossplay disabled.
// Photos to be added on AH 2.0
After Completing these steps, you can now go and start you server.
Set Server To Public Or Private
Add A New World
Connect To Your Server
Add An Admin Or Remove Them
Before following these steps, make sure to stop your server first. This is to avoiding breaking anything on your server while you edit.
Step 1: Head to your game panel and look for your File Icon on the left hand side.
// Photos to be added on AH 2.0
Step 2: Now follow this directory to get to adminlist.txt: /home/container/.config/unity3d/IronGate/Valheim/adminlist.txt

Step 3: Add in there SteamID64 (Dec) to the file.
Use this link to find players ID https://www.steamidfinder.com/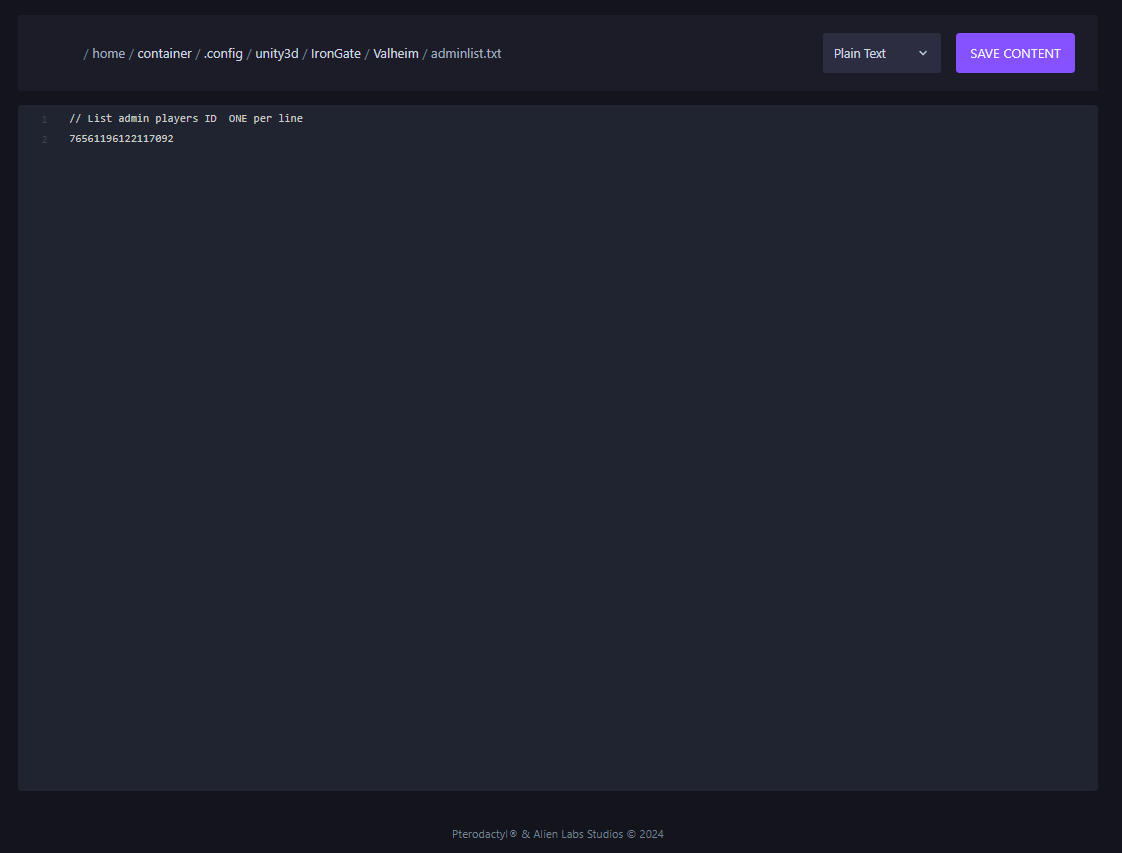
If you want to add more admins to your server, just add there SteamID on another line as seen in the photo below.
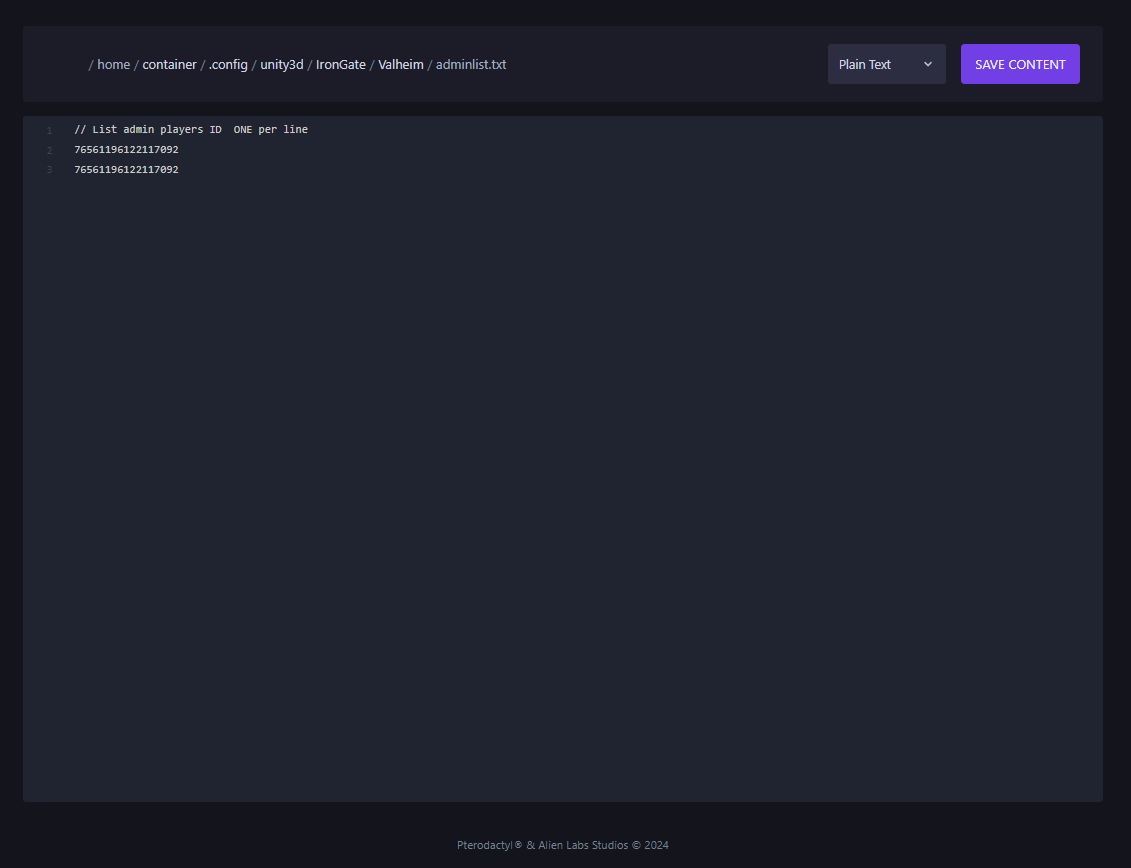
After Completing these steps, save your file and you can go and start you server.